Openers · London
Photo-Eye Sensor Alignment or Replacement
On bright mornings the door will not close, then by lunchtime it behaves itself.
In plain words
Some sensor problems keep a schedule. A receiving eye that faces the low sun on winter mornings is flooded with light and loses the beam until the sun moves on, and a lens that frosts overnight in an unheated garage clears itself by noon. The service sorts these out for good: the sensors are swapped side to side so the receiver faces away from the light, or a small shade is fitted, and lenses and brackets are cleaned and reset above the line where slush collects. The door then closes at any hour of the day and in any month.
How the visit goesSomeone backed the car in a little too far, a bin or a bicycle brushed the track, and since then the door starts to close and comes back up. One sensor now sits at a slightly different angle from the other.
Photo-Eye Sensor Alignment or Replacement
How the visit goes
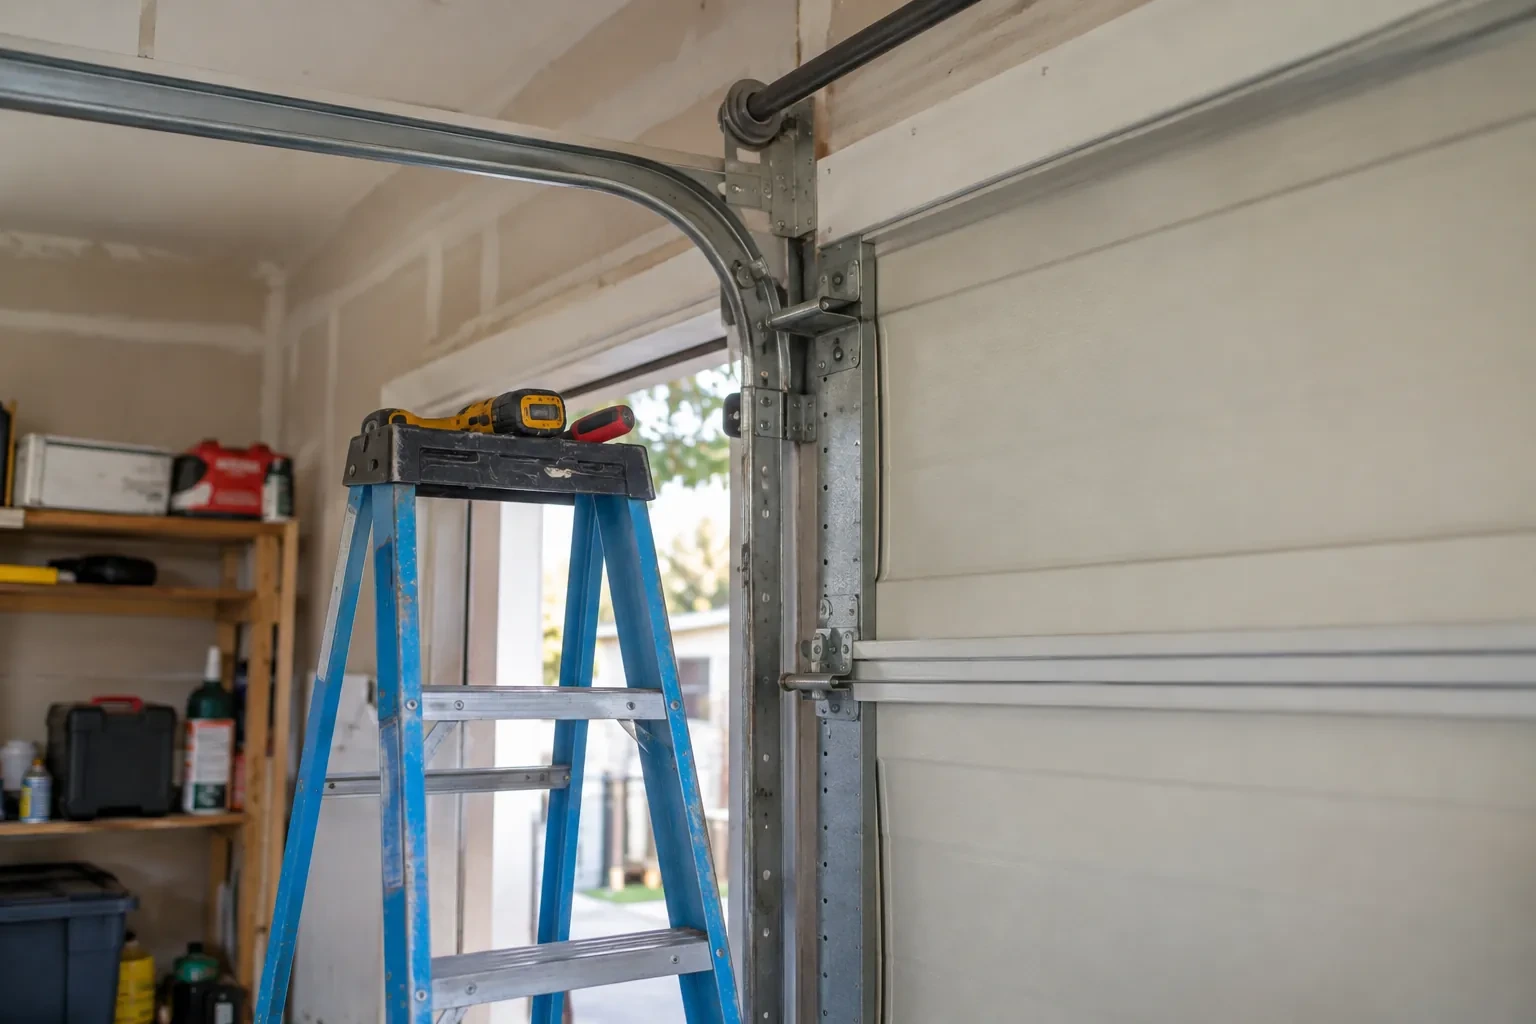
Brackets and height on both sides
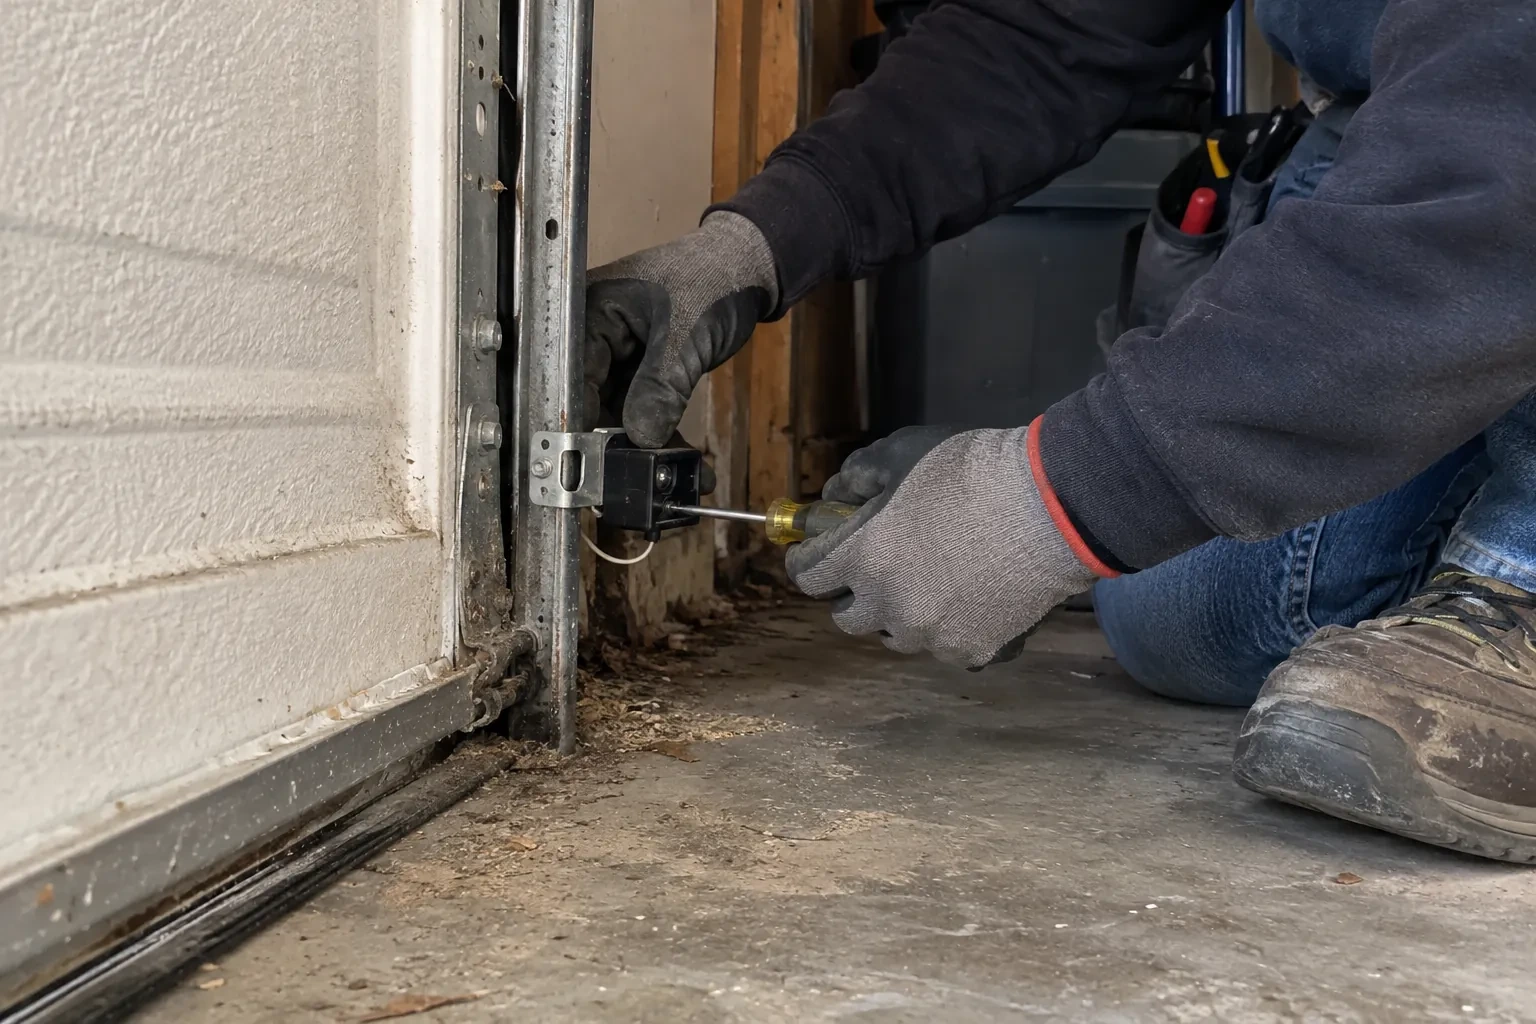
The two sensors have to sit at the same height, level, and facing each other squarely, no higher than about 15 cm (6 in) above the floor so the beam catches a small child or a pet. The technician measures both sides, because a bracket that has slipped a couple of centimetres down a track leg is enough to lose the beam. Each bracket is checked for bends from a bumper or a bin, for loose carriage bolts or wing nuts, and for rust where salt slush has sat against it for winters on end. A bracket screwed to a wall or the floor is checked for anchors that have worked loose.
Dealing with the sun
A receiver that looks into the low sun is fixed by geometry. The simplest cure is to swap the two sensors side to side so the receiver looks away from the doorway light and the sending eye, which is not affected, takes the sunny position. Where the layout rules that out, a small hood or shade is fitted over the receiving lens, deep enough to shield it without narrowing the beam path. The wiring is extended or re-routed as needed and both lights are checked at the time of day the fault used to appear, or with a strong light aimed at the lens to stand in for the sun.
Winter habits
In the cold months the sensors ask for a little attention. On frosty mornings give a misted lens a moment to clear rather than pressing close over and over, and wipe it with a dry cloth if it does not. Keep salt slush from building up against the brackets, since salt is what corrodes the mounts and terminals over time. Clear snow from just inside the door before closing it, and if the bottom seal has frozen to the slab, free it by hand rather than asking the opener to pull it loose. If the door closes at noon but not at nine, mention it; the low sun may be reaching the receiving eye and a shade sorts that out.
Photo-Eye Sensor Alignment or Replacement
In the van
Two-conductor low-voltage wire
Insulated wire staples
Wall or floor angle brackets
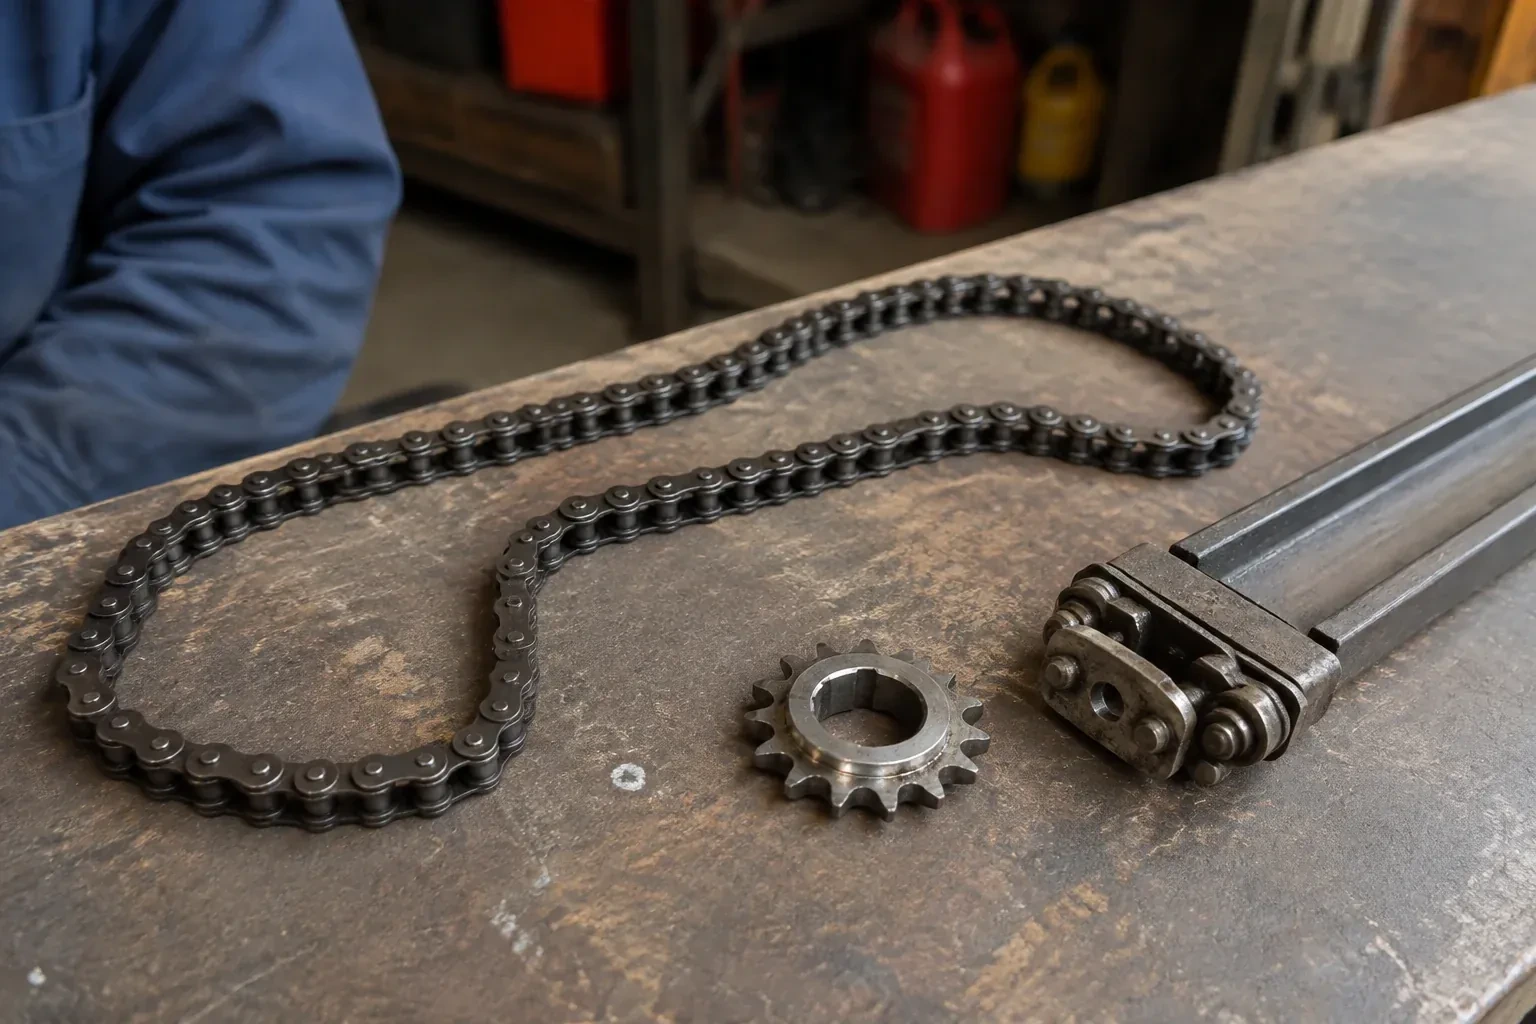
Matched photo-eye sensor pair
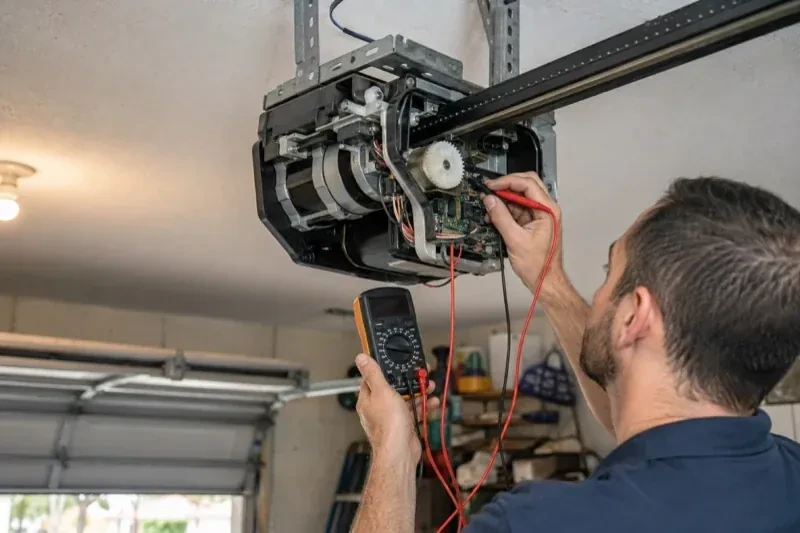
Multimeter
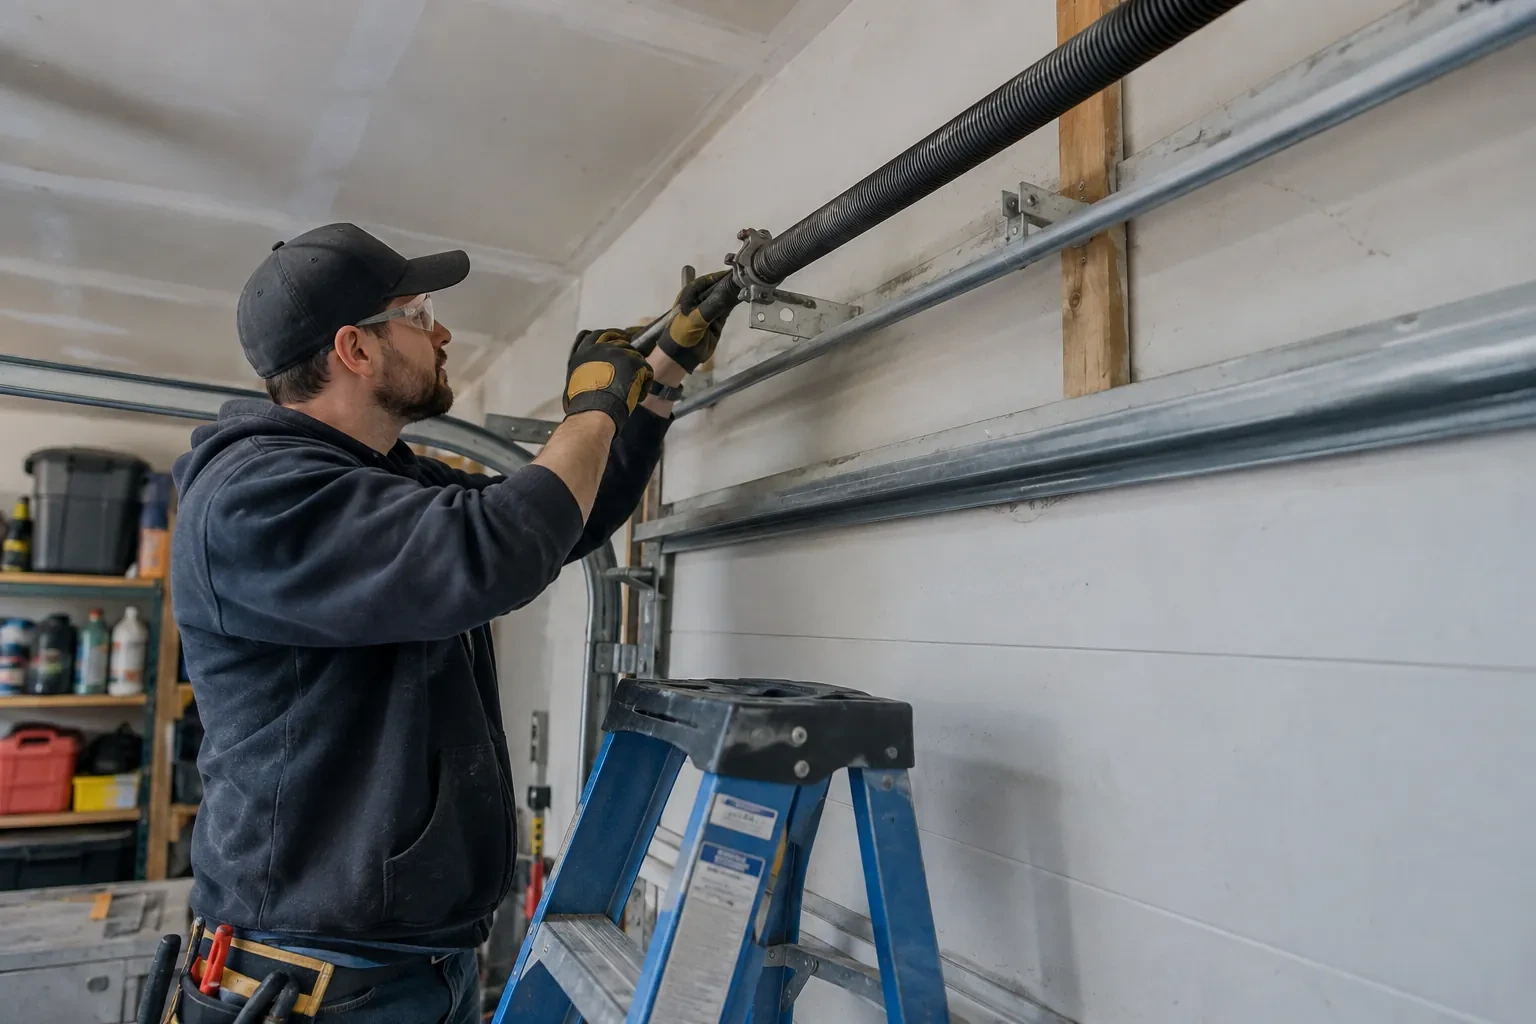
Photo-Eye Sensor Alignment or Replacement
What affects the quote
Door-side findings
A balance problem, a stiff roller or a bottom seal that needs replacing sometimes shows up during testing. Those belong to their own service and are noted and quoted separately rather than hidden in the sensor work.
Type of kit
Some replacement kits contain only the two sensors with connectors, while others include brackets and a full length of wire. The kit that suits the opener and the state of the existing hardware is what is quoted.
Alignment or replacement
Cleaning, re-aiming and refastening the existing pair is the smaller job. Fitting a new matched sending and receiving pair is the larger one, and the diagnosis at the door decides which applies before the quote is settled.
What to have ready
- Can you send photographs of both sensors, the head unit label and the wall control?
- Is there frost, snow, slush or salt around the sensors in winter?
- What do the two small sensor lights show: both steady, one dark or flickering, or both dark?
Photo-Eye Sensor Alignment or Replacement: questions
QuestionsHow should I clean the lenses?
Gently, with a soft dry or lightly damp cloth, the way you would clean eyeglasses. Never scrape a lens or use a solvent, since a scratched or clouded lens scatters the beam. Wipe both sensors, then check that the receiving light comes on steadily. If a lens frosts on cold mornings, give it a few minutes to clear or dry it with a cloth. A quarterly wipe keeps dust, cobwebs and salt film from building up.
What do the small lights on the sensors mean?
Arrangement varies by model: most pairs carry an indicator on each side, in differing colours for sender and receiver, though some older pairs light only the receiver, so check the maker's chart. A receiving light that is dark or flickering means the beam is not landing on it, so the pair needs aligning or something is in the way. Both lights dark means the pair has no power, which points to the wire or the terminals at the head unit. Steady lights on both sides mean a healthy system.
What happens during the visit, in order?
Questions first: what the door does, when it began, what changed. Then the beam path is cleared, the sensor lights are read, the opener's flash code is counted, and the brackets and heights are measured. If the signs point to the circuit, the wire is traced and tested with a meter. The cause is fixed, whether that is alignment, brackets, wire, a shade or a new pair, and the visit closes with the beam test and the contact reversal test.