Repairs · London
Garage Door Bottom Seal Replacement
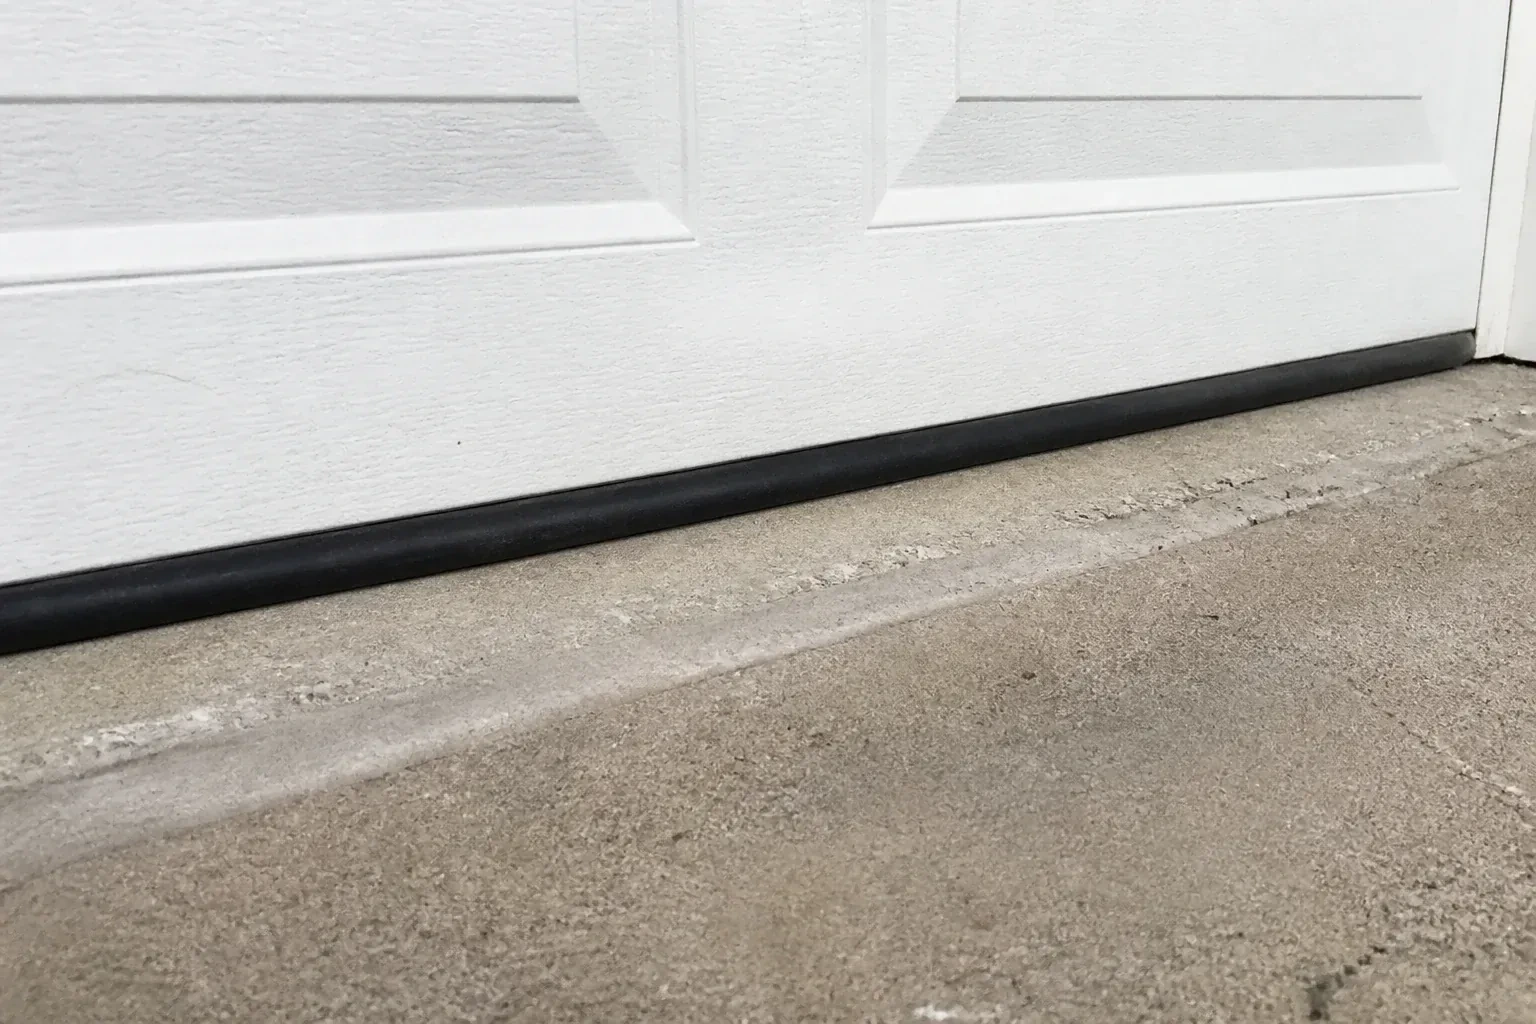
One end of the bottom seal has slipped out of its channel and hangs down like a loose shoelace.
In plain words
In this climate the bottom seal lives a hard life. Meltwater from the car pools at the threshold and freezes the seal to the slab, and the next press of the remote tears it or drags it out of its channel. Road salt stiffens the vinyl and eats the aluminum retainer; deep cold turns a supple strip rigid. Replacement puts a cold-rated profile on a sound retainer, sized to meet the floor without over-compressing, and the technician shows how a wipe of silicone each autumn and a clear threshold keep the new strip from bonding to the ice. The door closes softly onto rubber again, not onto a frozen ridge.
How the visit goesAfter a spring rain there is a puddle inside the door that reaches the tires. The driveway slopes toward the garage, the slab has a low corner, and the flattened old seal is not making up the difference.
Garage Door Bottom Seal Replacement
How the visit goes
Which retainer and which profile
Next the retainer along the bottom rail is identified. Most steel doors carry an aluminum extrusion with two channels that take the T-shaped or beaded edges of a U-shaped seal; some insulated doors have the channel moulded into a plastic bottom cap; older doors may have a single channel; wood doors often have a strip nailed straight to the rail. The technician measures the channel spacing and the T or bead size, checks the door width, and notes the height of the old strip. A seal chosen from these measurements slides in cleanly and holds, which is the difference between a replacement that lasts and one that works loose.
Feeding the seal into the retainer
Both edges of the new seal are started into their channels together at one end of the door. A spray of soapy water or silicone on the edges lets the strip glide, and the technician works it across in stages, pulling gently from the front end and feeding from the other so the seal is never stretched, since a stretched seal shrinks back and leaves a gap later. Once it is across, the bulb is checked to hang evenly with no twists. The ends are trimmed flush with the door and folded up into the channel or capped, so water running along the seal drains out rather than into the section.
The rest of the weather line
With the bottom sealed, any remaining draft points to the perimeter: the vinyl fin on the stop moulding at the jambs and header, and the joints between sections. These were looked over during the visit and anything torn, shrunk or missing was pointed out. Replacing perimeter stripping is straightforward work that can be planned for a mild day. Together with a sound bottom seal and, where the floor calls for it, a threshold, the garage gains a stronger barrier against wind, water and cold on all four edges, and an attached garage can stay closer to the temperature of the house.
Garage Door Bottom Seal Replacement
In the van
Threshold seal and adhesive
Silicone spray lubricant
Bulb or U-style bottom seal
Bead-style bottom seal
Nail-on vinyl strip for wood doors
Garage Door Bottom Seal Replacement
What affects the quote
Bottom section repairs
A rusted, dented or bowed steel bottom rail, or a rotted wood rail, is pointed out and any repair or reinforcement offered as an option beside the seal work.
Floor and threshold shape
A dished, sloped or heaved slab may call for a taller bulb profile or a threshold seal on the floor, each of which is quoted as a separate choice you can accept or leave.
Number of doors
Two single doors are two seals, two inspections and two opener resets. The travel is shared, so doing both in one visit costs less than two separate calls.
What to have ready
- Is the door a single or a double, and roughly how wide?
- Is the old seal hard and cracked, torn, hanging loose, or missing?
- Have you seen mice or droppings in the garage?
Garage Door Bottom Seal Replacement: questions
QuestionsShould I choose the tallest seal available?
Not as a rule. The seal should fill the measured gap with a little compression to spare. A profile far taller than the gap gets squashed flat, wears at the fold, bows the bottom section and can make the opener reverse. Where the floor dips at one end, a taller bulb is the right call for that door; where the floor is flat, a standard height lasts longer. Measuring first is what settles it.
What happens during the visit?
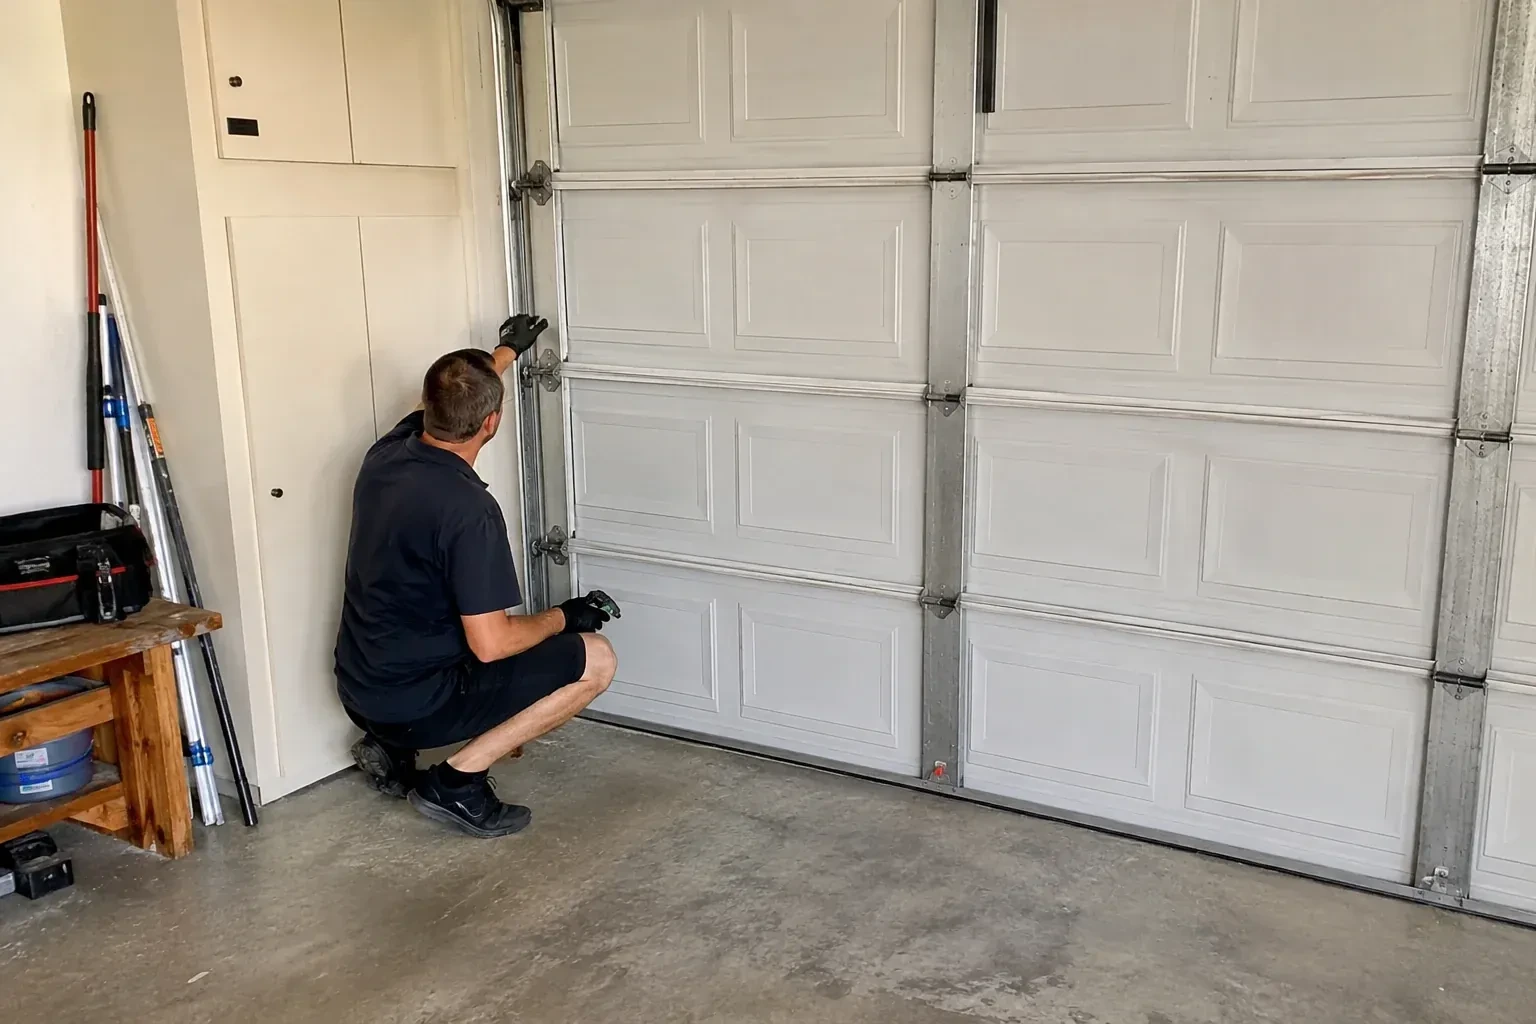
The technician maps the gap with the door closed, checks the door is level and the bottom section straight, and identifies the retainer and profile. The opener is disconnected and the door clamped at working height. The old seal comes out, the channels are cleaned, a new seal is cut and fed in, and any retainer work is done. The door is then closed under power, the opener reset, and the reversing and photo-eye tests run.
Is this something I can do myself?
Many homeowners do, and a technician's value lies in the parts that go wrong: identifying the exact profile so the seal seats, freeing a strip that has fused into its channel, spotting a retainer or door-level problem behind the gap, and resetting the opener's limit and force so the door lands gently and still reverses on an obstruction. If you would rather have it measured, fitted and tested in one go, that is what the visit is for.
Related services
- Garage Door Tune-UpSince the first cold snap the door has been sluggish.
- Off-Track Garage Door ResetThe morning after a thaw the opener groaned, the door stayed stuck to the icy floor for a second, then lurched up crooked.
- Garage Door Panel ReplacementRust has crept along the bottom edge of the lowest section.