Openers · Kensal Park
Photo-Eye Sensor Alignment or Replacement in Kensal Park
On bright mornings the door will not close, then by lunchtime it behaves itself.
In plain words
Some sensor problems keep a schedule. A receiving eye that faces the low sun on winter mornings is flooded with light and loses the beam until the sun moves on, and a lens that frosts overnight in an unheated garage clears itself by noon. The service sorts these out for good: the sensors are swapped side to side so the receiver faces away from the light, or a small shade is fitted, and lenses and brackets are cleaned and reset above the line where slush collects. The door then closes at any hour of the day and in any month.
How the visit goesThere are no sensors at the floor at all, or a previous owner has wired the pair together up beside the motor so the beam never crosses the doorway. A home inspector has just pointed it out.
Photo-Eye Sensor Alignment or Replacement
How the visit goes
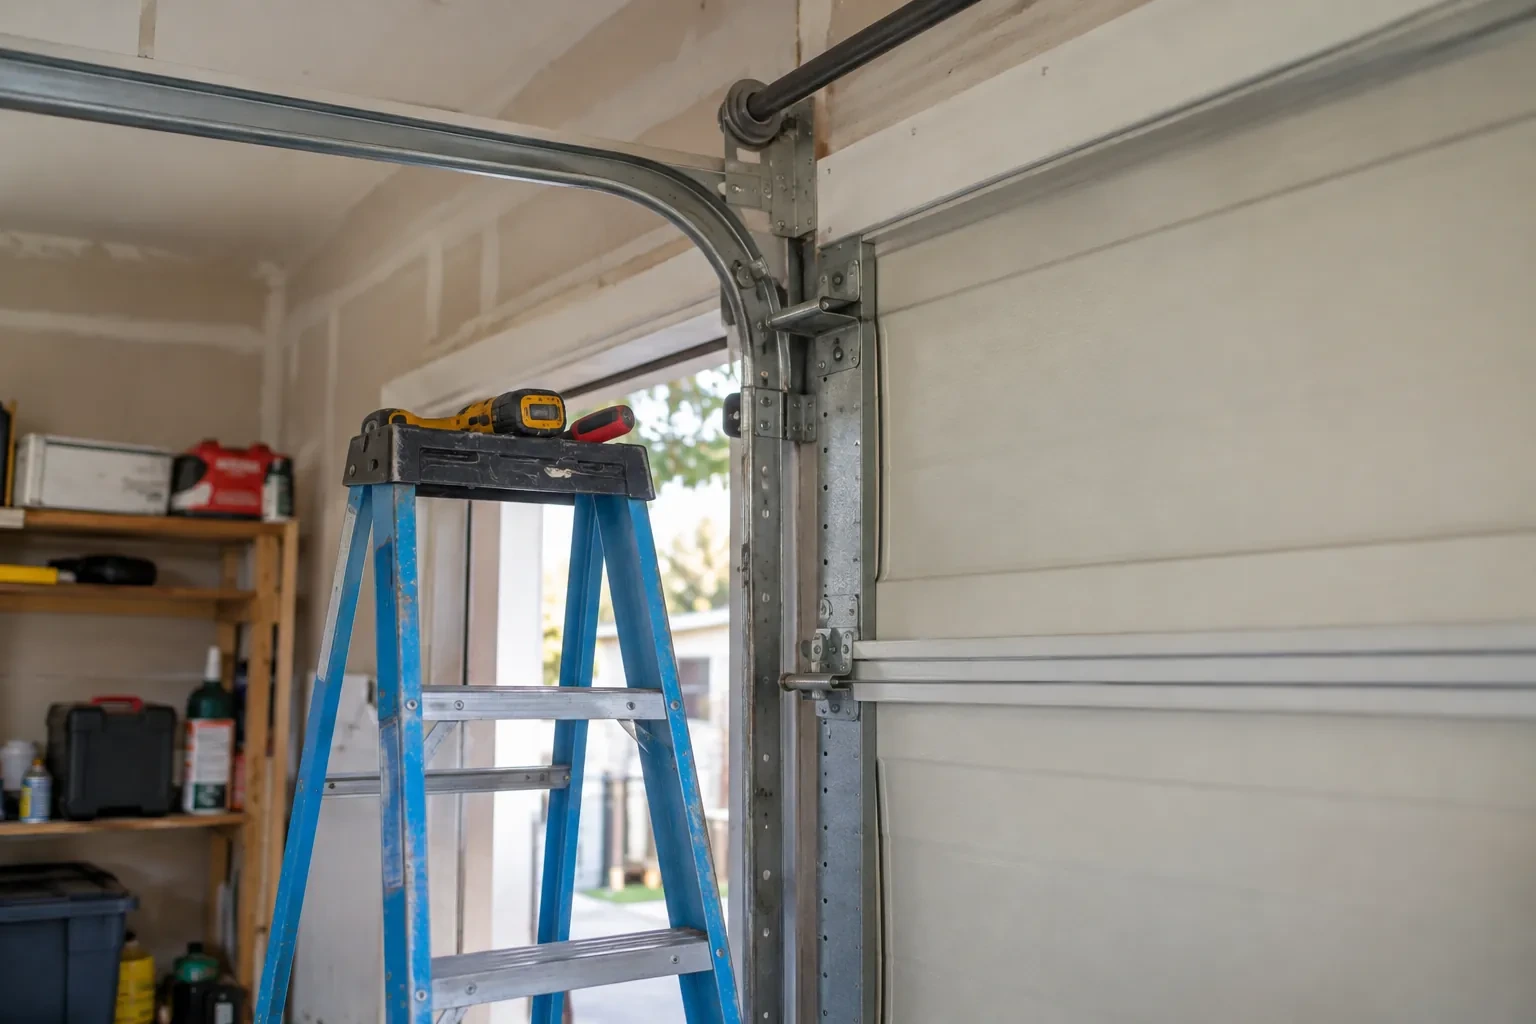
Following the wire home
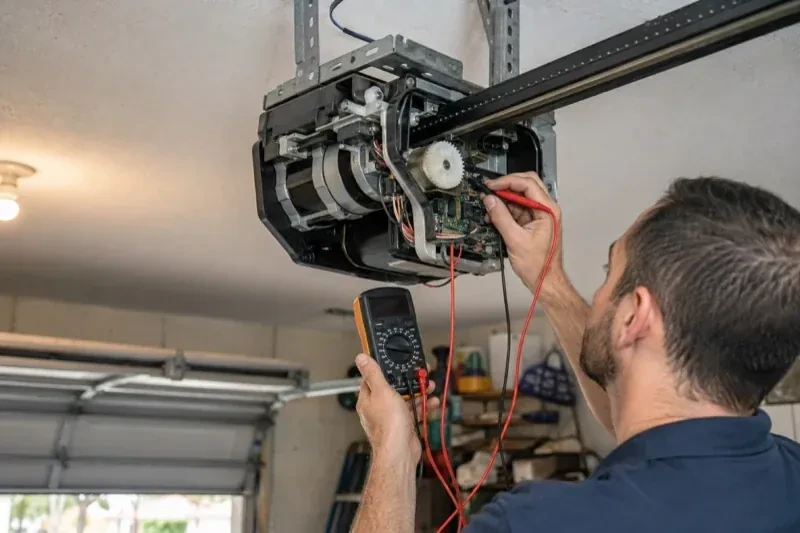
When the lights or the code point to the circuit, the low-voltage wire is followed from each sensor to the head unit. The technician looks for staples driven through the insulation, wire pinched behind a track bracket, sections chewed by mice, cuts where shelving or drywall screws went in, splices that have corroded, and terminals at the head unit that are loose or connected the wrong way round. A meter confirms continuity and polarity rather than guessing. Where the wire disappears into a finished ceiling, the readings at each end tell whether the hidden section is sound or whether a fresh run is the tidier answer.
Repairing the wire run
Damaged wire is dealt with in whole sections rather than patched at a single point. A pierced or chewed length is cut back to sound insulation and either spliced with proper connectors or, more often, replaced from the sensor to the nearest good junction. Where the run has failed in more than one place, a fresh two-conductor wire is stapled from the motor housing across the ceiling and down both sides of the opening, kept clear of the track, hinges and the door's travel. At the head unit the pair is landed on the correct low-voltage terminals with polarity confirmed, and the sensor lights are checked before anything is tidied.
Keeping the brackets out of harm's way
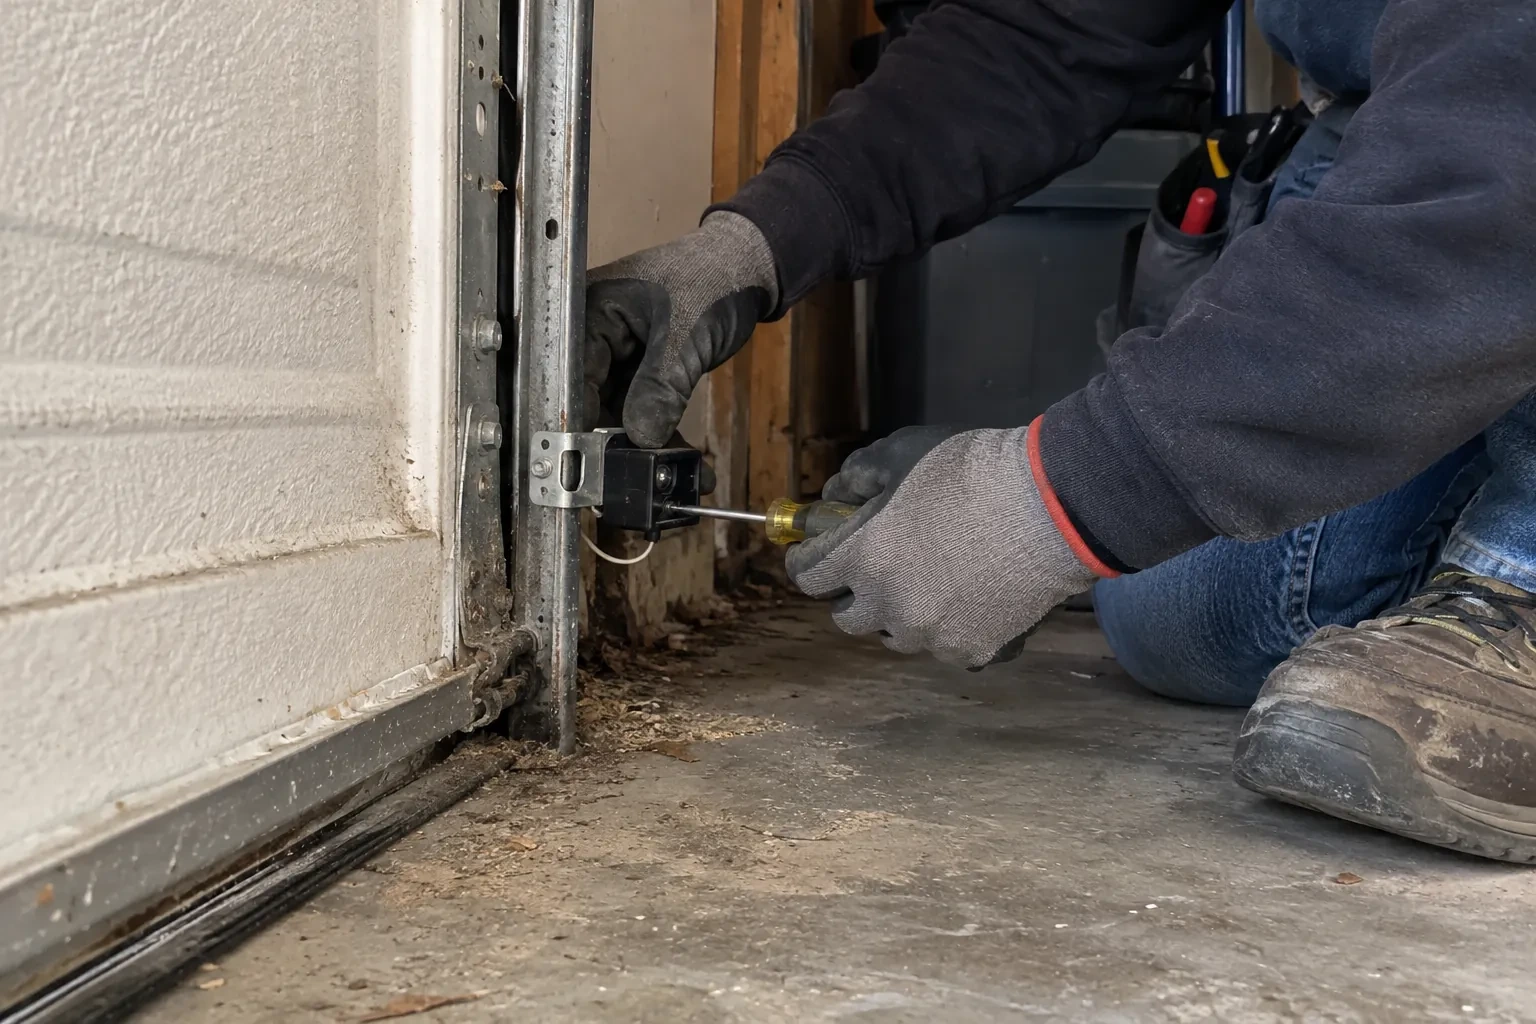
Most repeat sensor calls come from the same few habits, and they are easy to change. Keep recycling bins, bicycles, boots and the snow shovel away from the bottom of the door track on both sides. Park with a little room to spare so a bumper never meets a bracket. When you sweep or blow snow out of the garage, aim away from the sensors rather than at them. If shelving or a workbench goes in along that wall, leave the strip near the floor free. The brackets are sturdy, but they hold a precise line, and a nudge that would not bother anything else is enough to lose the beam.
Photo-Eye Sensor Alignment or Replacement
In the van
Two-conductor low-voltage wire
Insulated wire staples
Wall or floor angle brackets
Matched photo-eye sensor pair
Multimeter
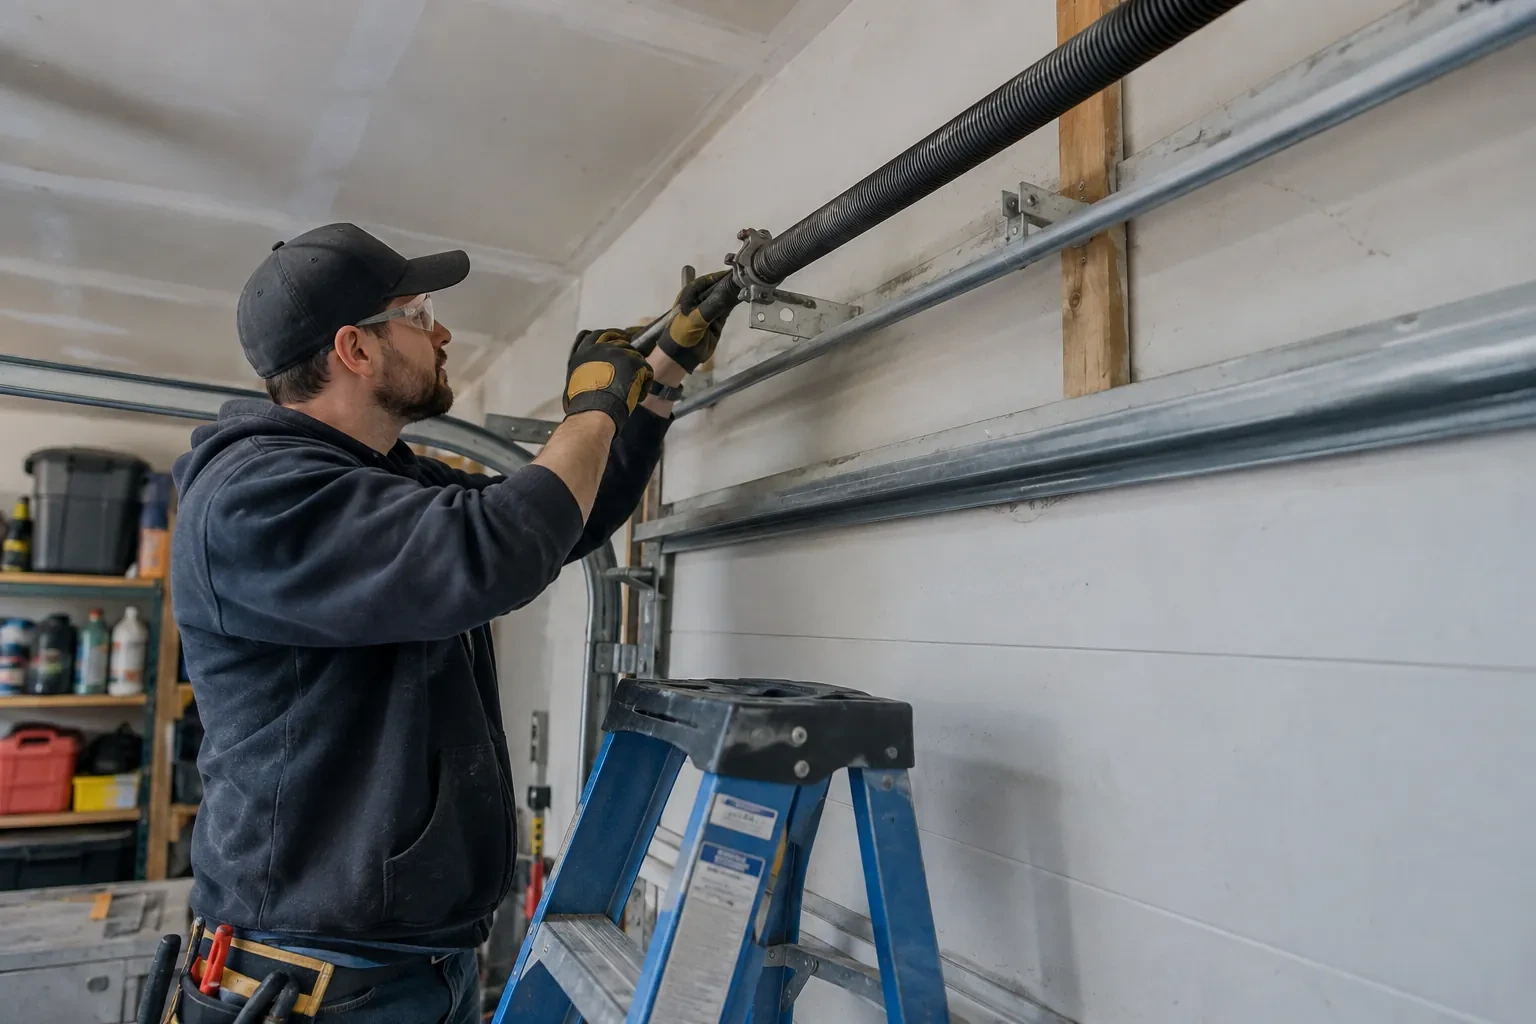
Photo-Eye Sensor Alignment or Replacement
What affects the quote
Door-side findings
A balance problem, a stiff roller or a bottom seal that needs replacing sometimes shows up during testing. Those belong to their own service and are noted and quoted separately rather than hidden in the sensor work.
Wall or floor mounting with anchors
Mounting into concrete or masonry rather than onto the track means drilling, anchors and sealing against water, which takes more time than clipping to the rail.
Type of kit
Some replacement kits contain only the two sensors with connectors, while others include brackets and a full length of wire. The kit that suits the opener and the state of the existing hardware is what is quoted.
What to have ready
- Are there sensors at the floor on both sides, or are they missing or mounted up beside the motor?
- What do the two small sensor lights show: both steady, one dark or flickering, or both dark?
- When did it begin, and what was different that week: a bump, new shelving, a storm, a frost?
Photo-Eye Sensor Alignment or Replacement: questions
QuestionsHow should I clean the lenses?
Gently, with a soft dry or lightly damp cloth, the way you would clean eyeglasses. Never scrape a lens or use a solvent, since a scratched or clouded lens scatters the beam. Wipe both sensors, then check that the receiving light comes on steadily. If a lens frosts on cold mornings, give it a few minutes to clear or dry it with a cloth. A quarterly wipe keeps dust, cobwebs and salt film from building up.
What do the small lights on the sensors mean?
Arrangement varies by model: most pairs carry an indicator on each side, in differing colours for sender and receiver, though some older pairs light only the receiver, so check the maker's chart. A receiving light that is dark or flickering means the beam is not landing on it, so the pair needs aligning or something is in the way. Both lights dark means the pair has no power, which points to the wire or the terminals at the head unit. Steady lights on both sides mean a healthy system.
What happens during the visit, in order?
Questions first: what the door does, when it began, what changed. Then the beam path is cleared, the sensor lights are read, the opener's flash code is counted, and the brackets and heights are measured. If the signs point to the circuit, the wire is traced and tested with a meter. The cause is fixed, whether that is alignment, brackets, wire, a shade or a new pair, and the visit closes with the beam test and the contact reversal test.