Openers · London
Smart Garage Controller Setup
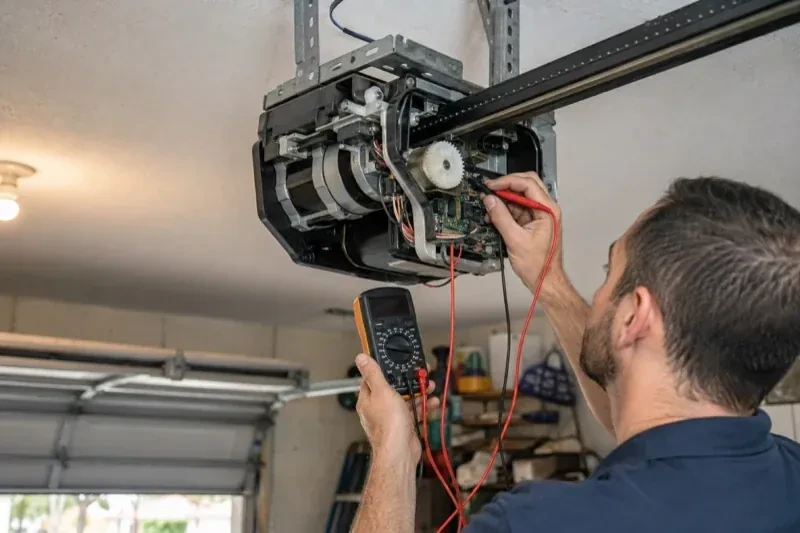
There is a wireless symbol printed on the opener above the car, and the manual mentions an app, but the head unit has never been connected to anything.
In plain words
The physical part of the job is modest and tidy. A hub the size of a deck of cards is mounted near the opener and plugged into the same receptacle the motor uses. Where the opener allows, two low-voltage wires run from the hub to the wall-control terminals; where it does not, the hub is taught to the opener through the learn button like an extra remote. A sensor the size of a matchbox is screwed to the inside of the top door section, and its tilt tells the hub the door's position. Then the door is cycled until the app agrees with your eyes.
How the visit goesA contractor is coming to work in the garage on Thursday while you are away. Handing over a remote means chasing it back afterwards, and the keypad code is the one your whole family uses. What you want is access that ends when the job does.
Smart Garage Controller Setup
How the visit goes
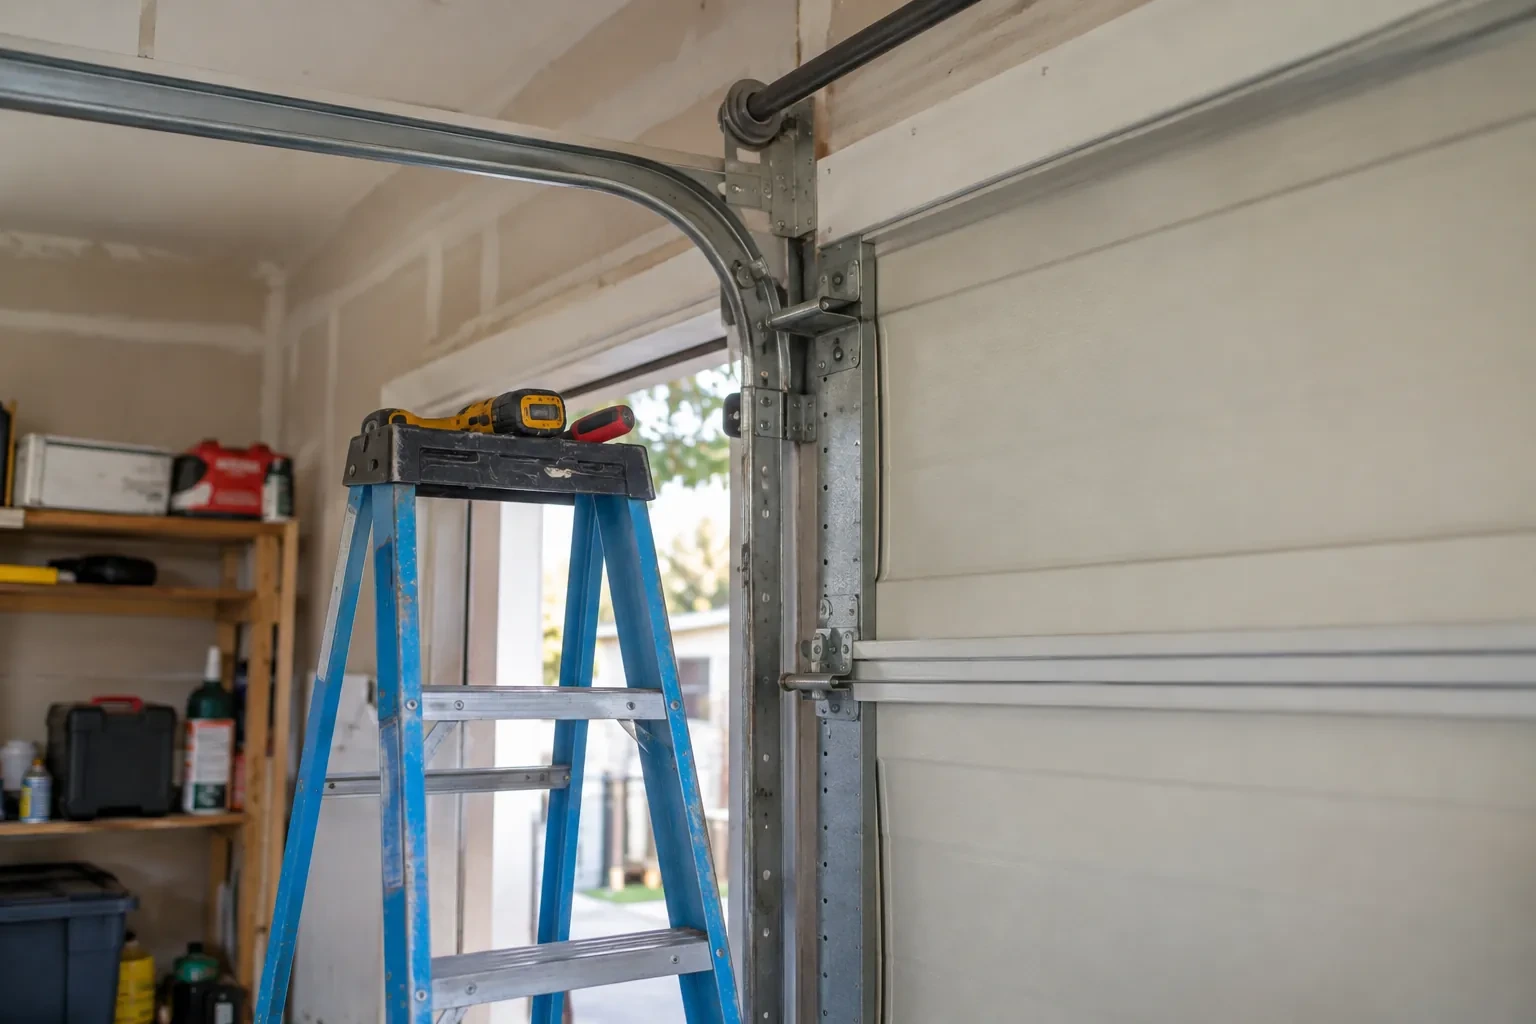
Power and a home for the hub
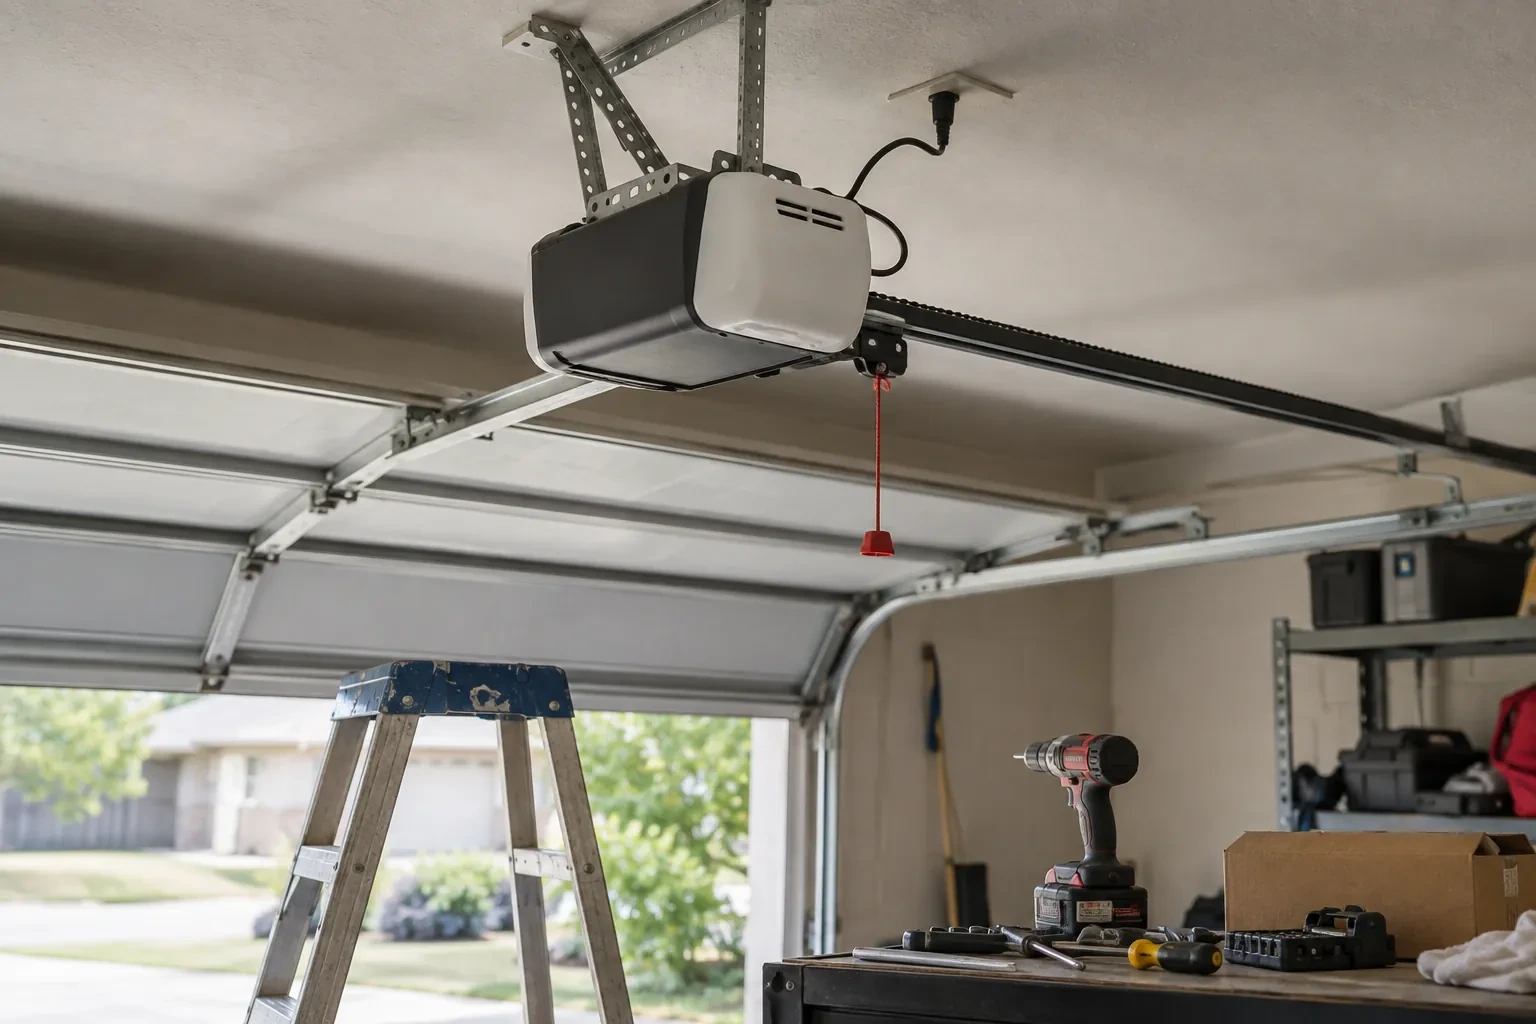
Retrofit hubs draw their power from a plug-in adapter, so the technician looks at the ceiling receptacle the opener uses: is there a spare socket, is it live, and does the adapter's cord reach a mounting spot with a clear line to the door sensor? The hub is placed within a few metres of the door so its own short-range link to the sensor stays solid, and away from the trolley and chain. If the receptacle is full, an approved splitter or a second receptacle installed by an electrical contractor is discussed. The adapter itself is checked for a recognized Canadian approval mark before it is plugged in.
Joining the home network properly
The hub is joined to the network on the 2.4 GHz band and to the exact network name the household uses every day, not a guest network that might later be switched off. The technician checks that the router's security is a modern type the hub supports and that the signal at the hub's final position is comfortably above the minimum. Where an extender or access point was planned, it goes in first so the hub joins a strong signal from the start. After the join, the hub's firmware update is allowed to finish, and the device is power-cycled once to prove it reconnects on its own without anyone touching it.
Alerts that earn their place
You leave with a small set of notifications chosen on purpose rather than every option switched on. A left-open reminder after a set delay, a note when the door opens during hours nobody should be using it, and a message when a scheduled close has completed are the ones most households keep. If the alerts become noise, adjust the delays or turn one off rather than muting the app entirely, because a silenced app is the one that stays quiet on the night the door is up. The settings screen you were shown is where each of these lives, and changes take effect at once.
Smart Garage Controller Setup
In the van
Receptacle splitter with approval mark
Retrofit smart hub
Low-voltage bell wire
Dry-contact adapter for encrypted openers
Plug-in power adapter
Smart Garage Controller Setup
What affects the quote
Ceiling height and access
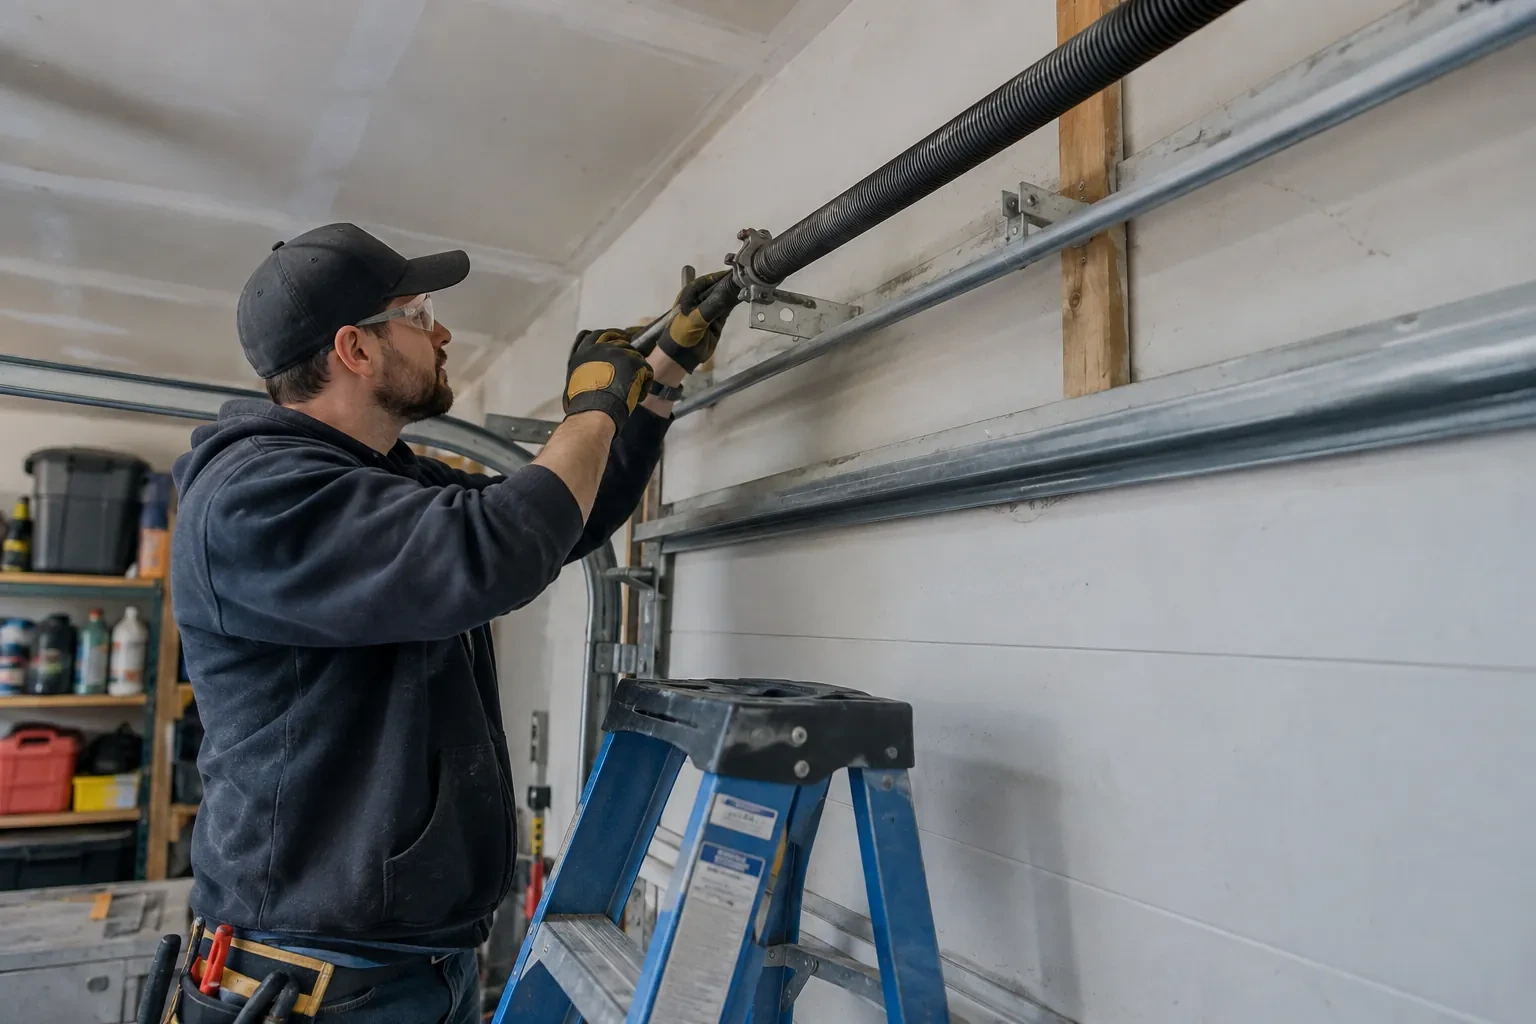
A standard garage puts the head unit and the top door panel in easy ladder reach. High ceilings, storage lofts or a car that cannot move add setup time.
Door sensor mounting
A flat steel panel takes the sensor in minutes. An insulated, raised-panel or windowed top section may need a bracket or a different spot, which adds a little time.
Wiring route
Where the hub is wired to the wall-control terminals, the distance and route from hub to console, clipped clear of the chain and trolley, sets the time for that step.
What to have ready
- How strong is your phone's Wi-Fi signal when you stand under the opener?
- Is there a spare socket in the ceiling receptacle the opener uses?
- How many garage doors do you want connected?
Smart Garage Controller Setup: questions
QuestionsHow long does the setup take?
A built-in radio that only needs pairing and an account is the shorter visit. A retrofit hub with wiring, a sensor and network work takes longer, and adding an access point for a detached garage or correcting photo eyes first adds to it. The testing at the end, every control plus the safety tests, is never rushed. You are told where things stand once the compatibility check is done.
The previous owner's controller is still on the ceiling. Can I use it?
Usually, once it is released from their account. If the seller can be reached, they remove the device from their app; if not, the technician performs a factory reset using the maker's documented steps, which clears the old registration. The hub and sensor are then paired fresh, joined to your network and claimed under your own login, and the battery and sensor placement are checked rather than assumed.
What does the colour of the learn button tell you?
On many openers the learn button's colour marks the generation of radio coding the unit uses, which decides how a hub can talk to it. Some generations accept a simple two-wire connection at the wall-control terminals; others use an encrypted console and need the hub paired by radio or through a small adapter. Sending a photo of the button and the label ahead of the visit lets the technician arrive with the right hardware.