Openers · Oxford Park
Photo-Eye Sensor Alignment or Replacement in Oxford Park
On bright mornings the door will not close, then by lunchtime it behaves itself.
In plain words
The sensors are only as good as the thin two-conductor wire that links them to the opener. It runs from the low-voltage terminals on the head unit along the ceiling and down each wall to the floor, stapled as it goes, and it is easily pierced, cut during renovations, chewed, or pulled loose at the terminals. When both sensor lights are dark, or the opener's code says the circuit is open or reversed, the technician tests the run end to end, repairs the damaged section or replaces the whole run, checks polarity at the terminals, and clips the new wire clear of the track.
How the visit goesAfter a cold night the door stays open until the garage warms up. There is frost on the sensor lenses and a ridge of salty slush piled against the brackets where the snow blower was parked.
Photo-Eye Sensor Alignment or Replacement
How the visit goes
Following the wire home
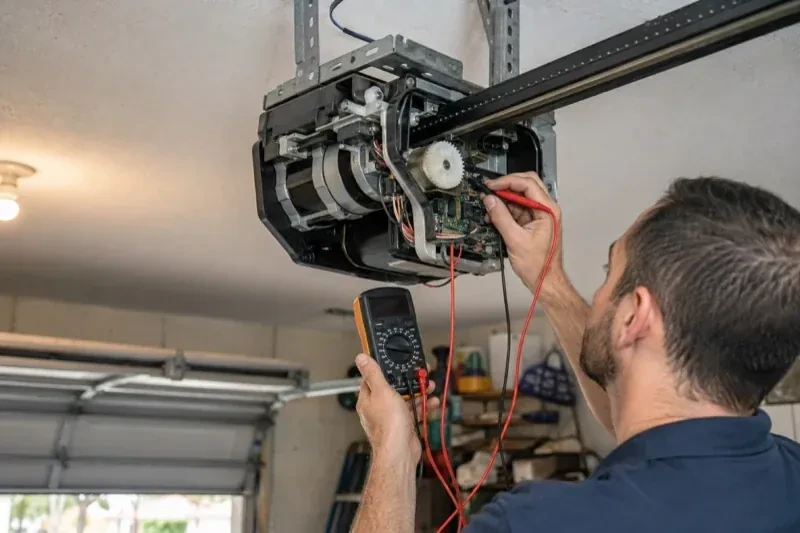
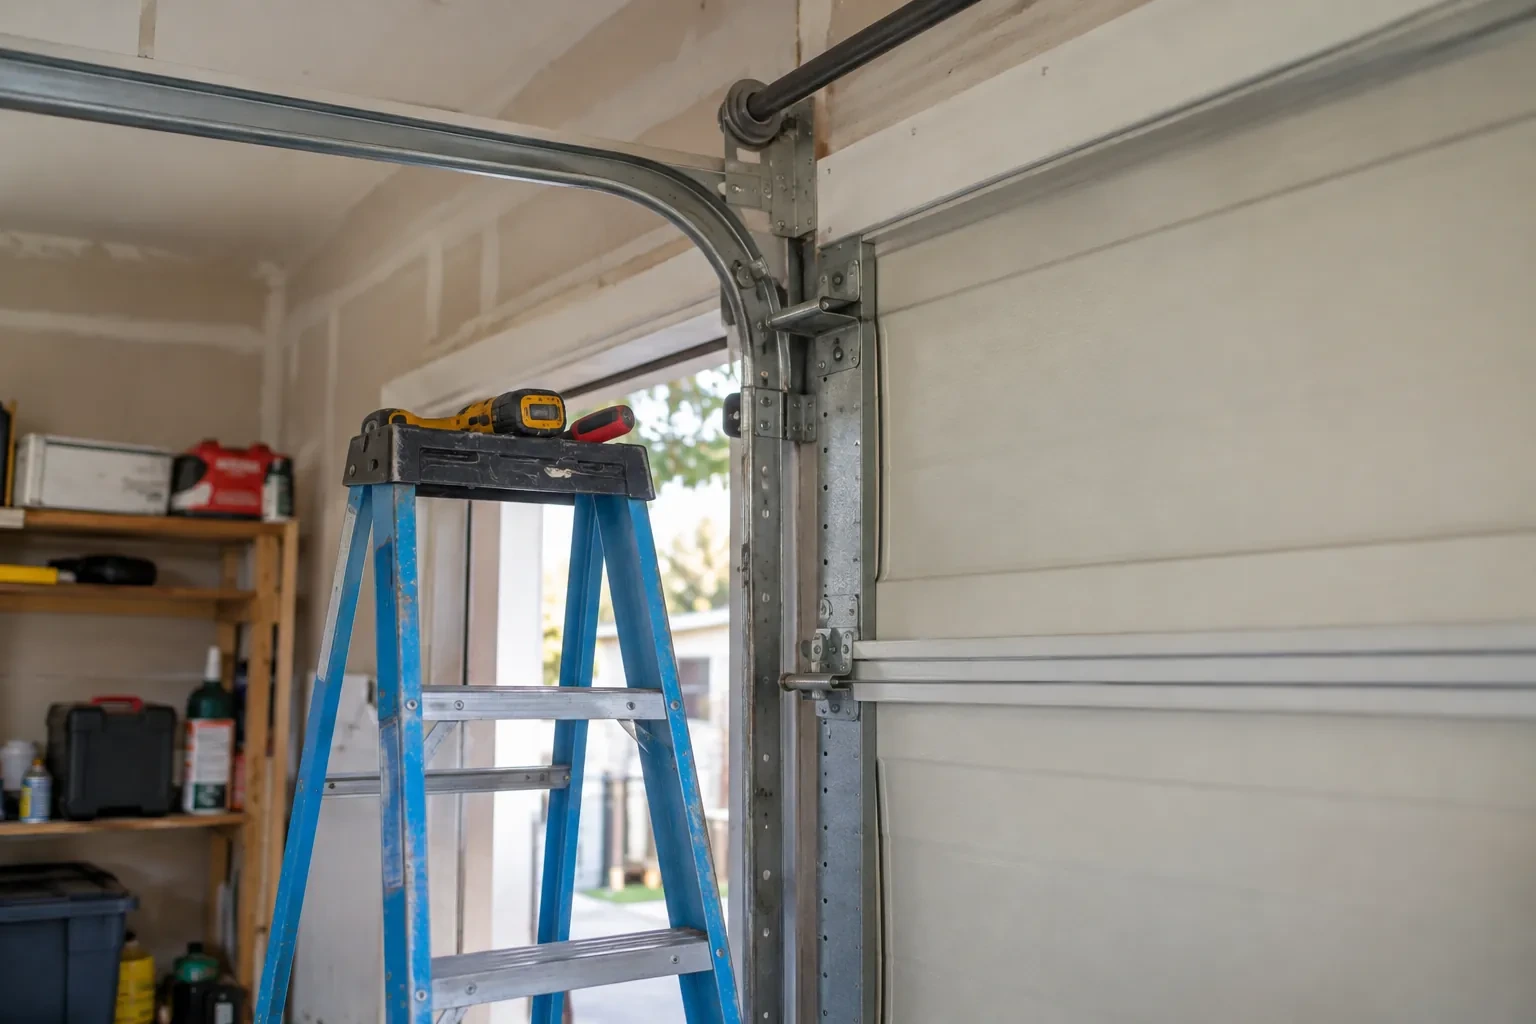
When the lights or the code point to the circuit, the low-voltage wire is followed from each sensor to the head unit. The technician looks for staples driven through the insulation, wire pinched behind a track bracket, sections chewed by mice, cuts where shelving or drywall screws went in, splices that have corroded, and terminals at the head unit that are loose or connected the wrong way round. A meter confirms continuity and polarity rather than guessing. Where the wire disappears into a finished ceiling, the readings at each end tell whether the hidden section is sound or whether a fresh run is the tidier answer.
Cleaning and protecting the lenses
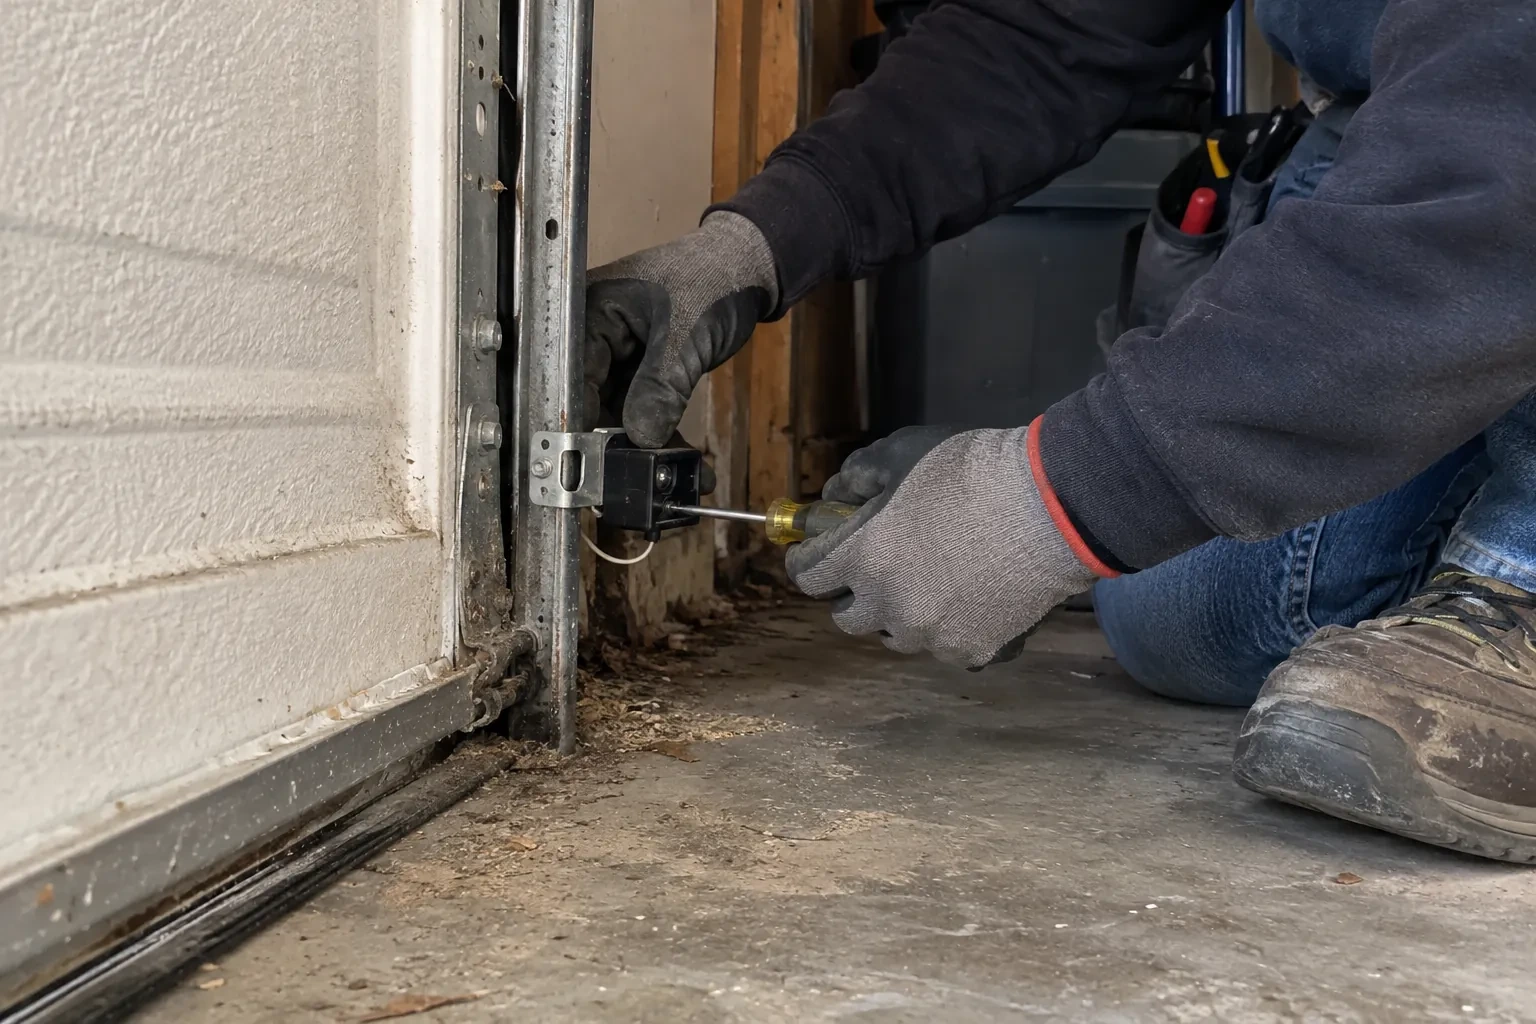
Lenses are wiped with a soft cloth and a mild cleaner, never scraped, and the housings are checked for cracks that let in water. Sensors that have been sitting in the strip where slush and salt collect are raised within the permitted height range and their brackets sealed. On a wall where the wire runs exposed, a slim protective channel keeps it clear of bins and bikes. Where mice have been at the wire, the new run is routed higher along the wall and dropped straight down to each sensor. These small measures are what keep a repair from repeating the following winter.
Wiring that stays put
The wire between the head unit and the sensors has been secured along the ceiling and walls, clipped clear of the track and, where it was exposed, run inside a protective channel. Two things keep it that way. First, when anything is fastened to those walls or that ceiling, from shelving to a bike hook to drywall, look for the thin wire before driving a screw or a staple. Second, if mice have been in the garage, a chewed wire is a common sign, so a dark sensor light after a sighting is worth a look at the run. Either way, the sensor lights will tell you the moment the circuit is open.
Photo-Eye Sensor Alignment or Replacement
In the van
Two-conductor low-voltage wire
Insulated wire staples
Wall or floor angle brackets
Matched photo-eye sensor pair
Multimeter
Photo-Eye Sensor Alignment or Replacement
What affects the quote
An opener without a sensor circuit
Where the operator predates monitored sensors and cannot accept a pair, the quote changes shape into a modern operator with its own sensors, which is discussed as a separate decision rather than folded in.
Type of kit
Some replacement kits contain only the two sensors with connectors, while others include brackets and a full length of wire. The kit that suits the opener and the state of the existing hardware is what is quoted.
Number of doors
Each opener has its own sensor pair and wire run, so a double garage with two doors is two sets of checks, two possible pairs and two rounds of testing, quoted per door.
What to have ready
- Does it happen at all hours, or mainly on bright mornings or late afternoons?
- Which direction does the garage door face?
- Does the opener light flash when you press close, and how many times?
Photo-Eye Sensor Alignment or Replacement: questions
QuestionsHow should I clean the lenses?
Gently, with a soft dry or lightly damp cloth, the way you would clean eyeglasses. Never scrape a lens or use a solvent, since a scratched or clouded lens scatters the beam. Wipe both sensors, then check that the receiving light comes on steadily. If a lens frosts on cold mornings, give it a few minutes to clear or dry it with a cloth. A quarterly wipe keeps dust, cobwebs and salt film from building up.
What do the small lights on the sensors mean?
Arrangement varies by model: most pairs carry an indicator on each side, in differing colours for sender and receiver, though some older pairs light only the receiver, so check the maker's chart. A receiving light that is dark or flickering means the beam is not landing on it, so the pair needs aligning or something is in the way. Both lights dark means the pair has no power, which points to the wire or the terminals at the head unit. Steady lights on both sides mean a healthy system.
What happens during the visit, in order?
Questions first: what the door does, when it began, what changed. Then the beam path is cleared, the sensor lights are read, the opener's flash code is counted, and the brackets and heights are measured. If the signs point to the circuit, the wire is traced and tested with a meter. The cause is fixed, whether that is alignment, brackets, wire, a shade or a new pair, and the visit closes with the beam test and the contact reversal test.