Openers · Westmount
Photo-Eye Sensor Alignment or Replacement in Westmount
On bright mornings the door will not close, then by lunchtime it behaves itself.
In plain words
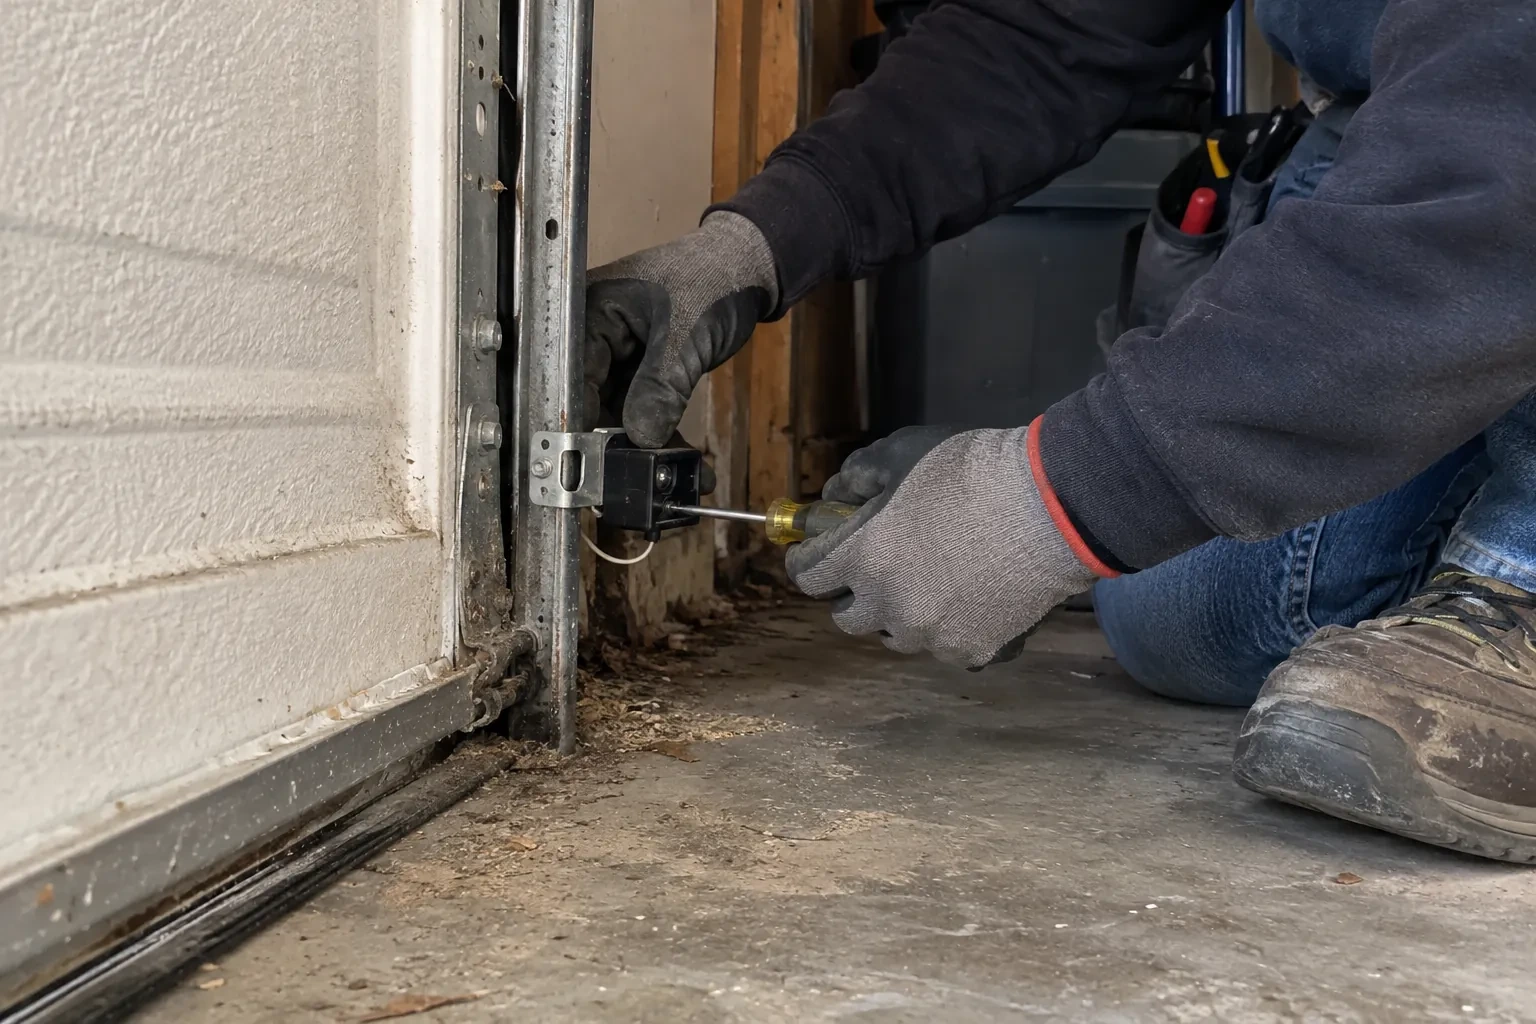
Most sensor visits end in alignment rather than new parts. The brackets that hold the sensors ride on the door track or the wall, and they get bumped by bins, tires and shovels until the two lenses no longer look at each other. The technician resets both sensors to the same height, loosens the wing nuts, aims the pair until the receiving light holds steady, tightens everything and secures the wire. Replacement is the answer when a lens is crazed, a housing is cracked, water has got inside or the indicator stays dark with good wiring, and then a pair matched to the opener is fitted.
How the visit goesYou press the remote, the door drops a few centimetres, then climbs straight back to the top while the opener light blinks. Nothing is under the door. It has done this every evening this week.
Photo-Eye Sensor Alignment or Replacement
How the visit goes
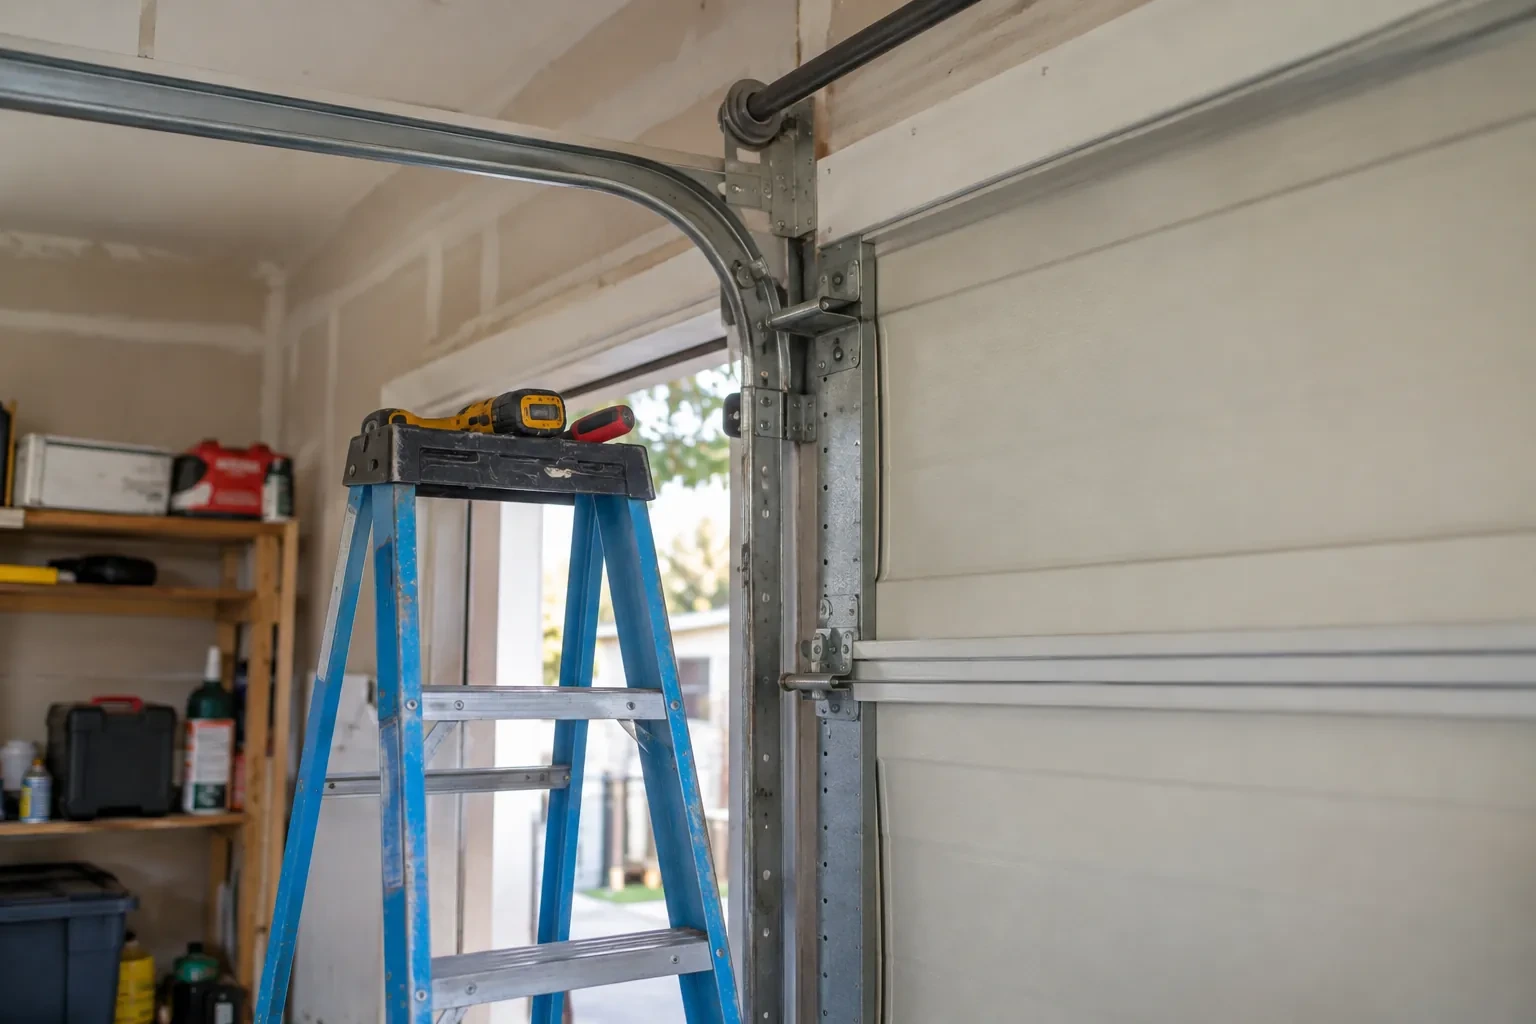
Counting the opener's flashes
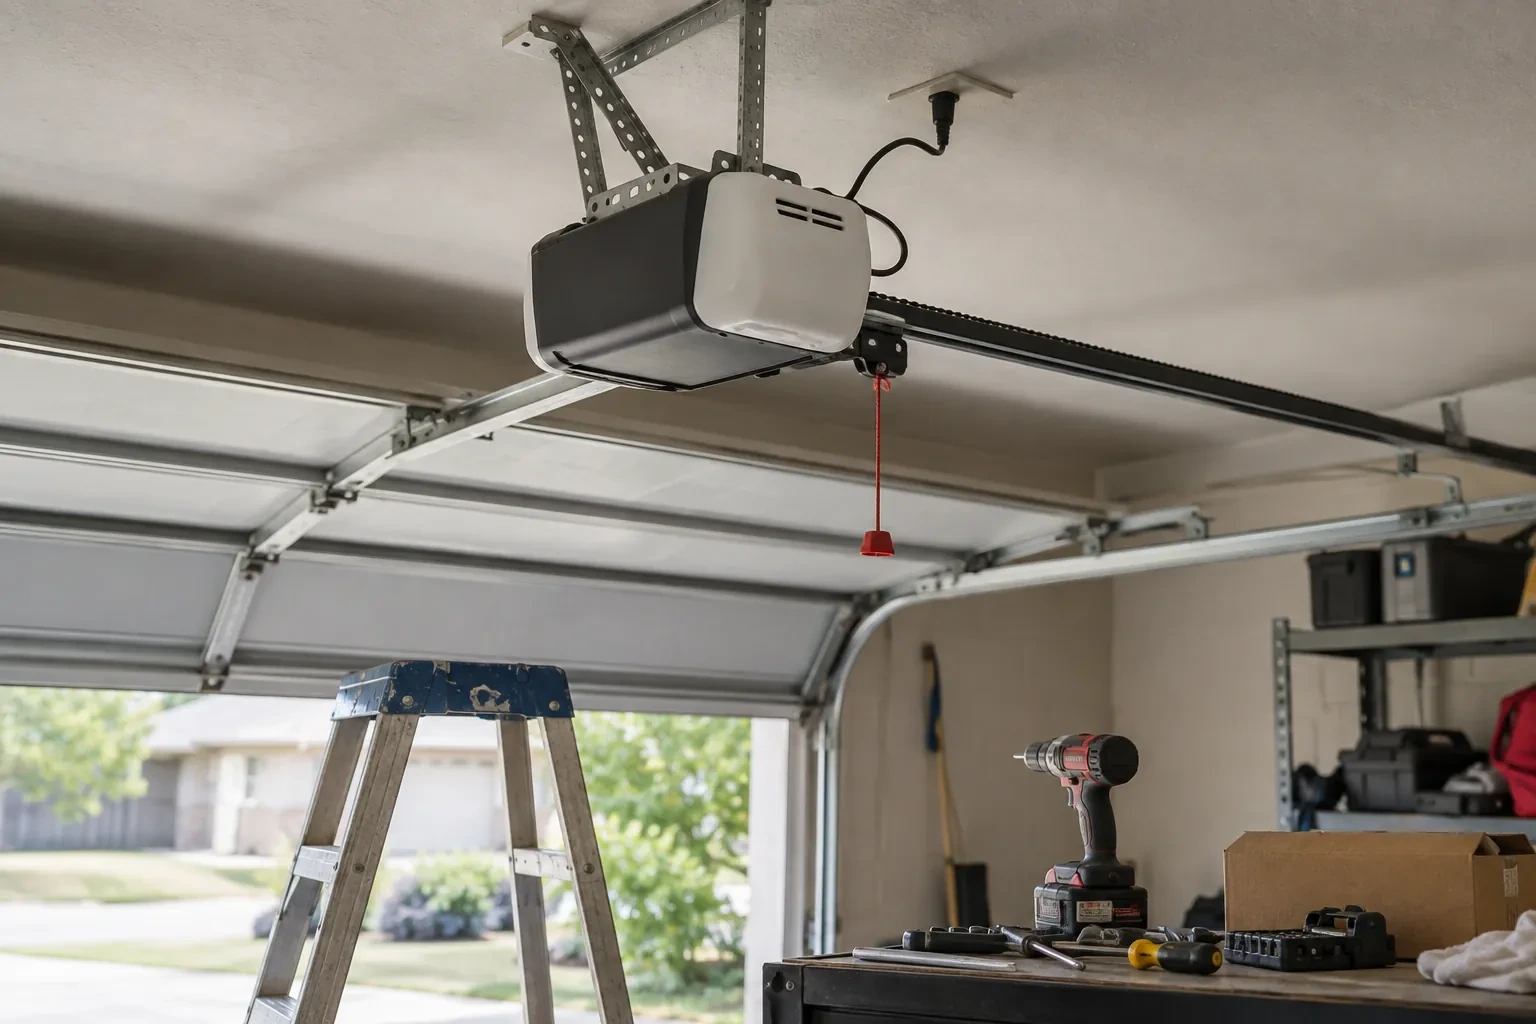
The head unit has its own way of reporting a sensor problem. Many openers flash the light bulb a fixed number of times when close is pressed and the beam is not satisfied, and newer units blink a code on their up and down arrows that separates a blocked or misaligned beam from a cut wire, a disconnected pair or reversed wiring. The technician reads the model off the label, counts the pattern and matches it to the maker's chart. This is what keeps the visit efficient: a code that says the circuit is open sends the work to the wiring, while a code that says obstructed or misaligned sends it to the brackets.
Fitting a matched sensor pair
When a sensor has failed, the replacement is chosen for the opener rather than from a shelf of lookalikes. The technician confirms the make and generation from the head unit label, because sensors from one era are not always recognised by a board from another. The new sending and receiving sensors are mounted on the existing or new brackets at matched heights, wired with the connectors supplied, and brought up until both indicators glow steadily. Universal pairs exist for some operators and are used where they are documented to suit that model; where the opener is old enough that no compatible pair is made, the conversation moves to a modern operator.
The monthly beam test
The habit worth keeping takes about a minute. Once a month, with the door open, press close on the wall control and, as it moves down, pass a broom handle through the beam near the floor. The door should stop and climb back to fully open. Then lay a 2x4 flat under the middle of the door and close onto it; the door should touch it and reverse. If either test fails, stop using the opener; close the door first if it is not already closed, then use the manual release, and get help moving it by hand if it feels heavy or will not hold. A door that passes both tests is doing its job.
Photo-Eye Sensor Alignment or Replacement
In the van
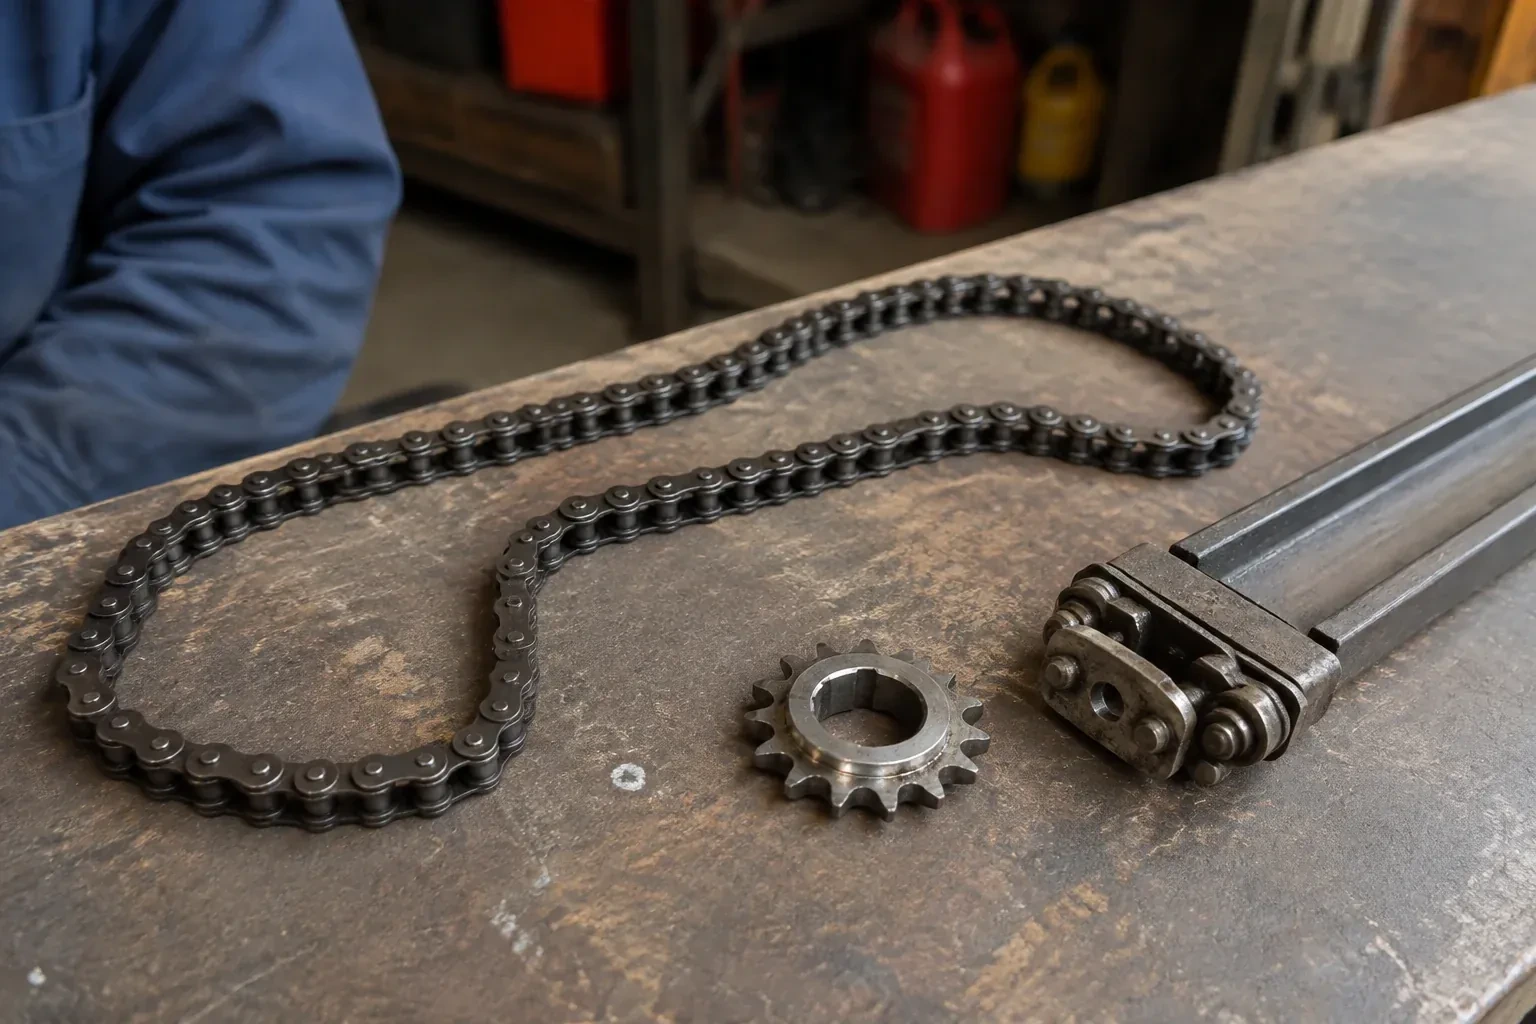
Two-conductor low-voltage wire
Insulated wire staples
Wall or floor angle brackets
Matched photo-eye sensor pair
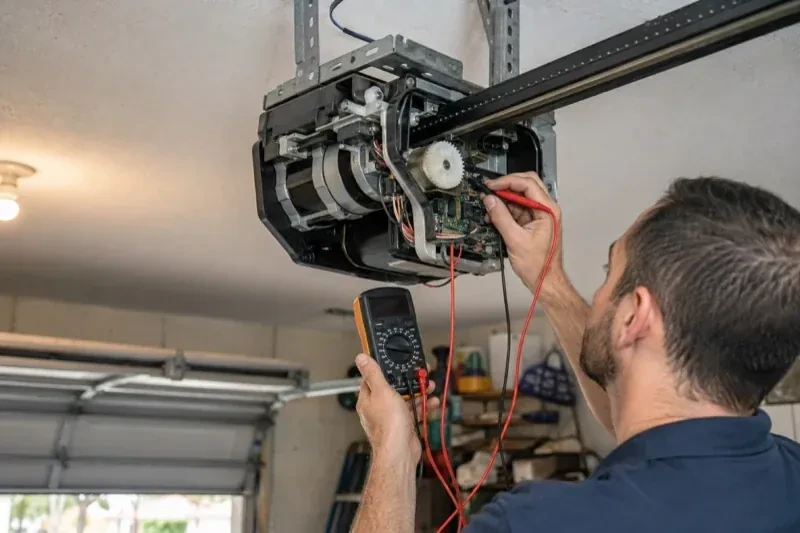
Multimeter
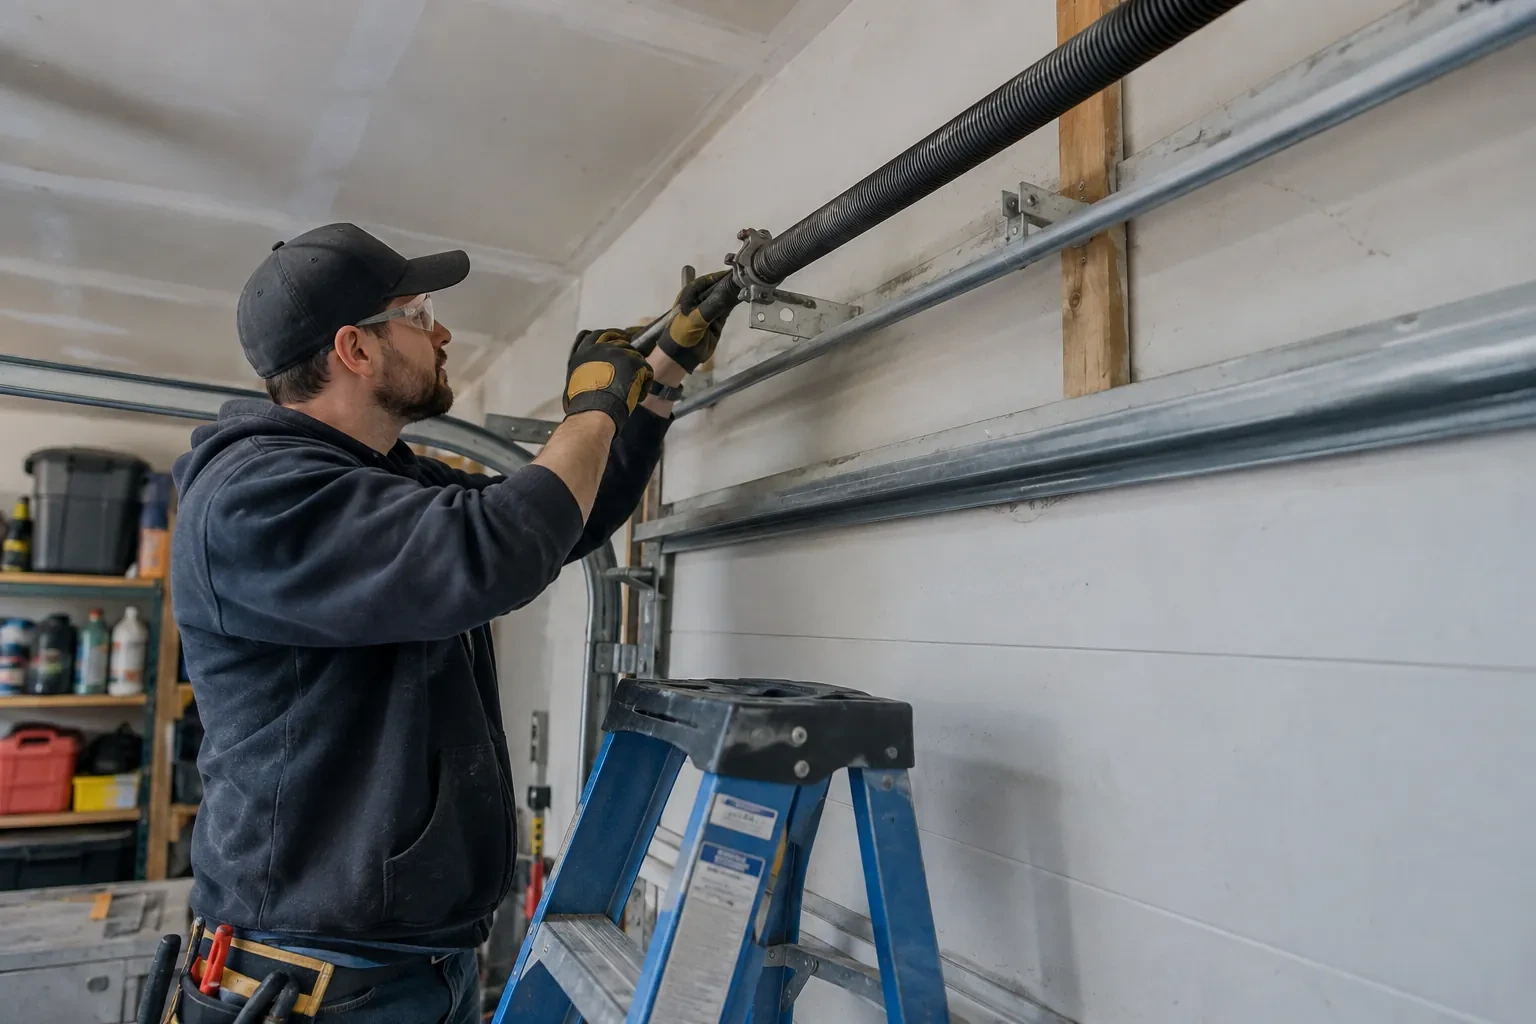
Photo-Eye Sensor Alignment or Replacement
What affects the quote
Number of doors
Each opener has its own sensor pair and wire run, so a double garage with two doors is two sets of checks, two possible pairs and two rounds of testing, quoted per door.
Alignment or replacement
Cleaning, re-aiming and refastening the existing pair is the smaller job. Fitting a new matched sending and receiving pair is the larger one, and the diagnosis at the door decides which applies before the quote is settled.
Access to the doorway and the head unit
A clear strip along the floor and a reachable head unit make for a direct job. Shelving, vehicles or stored goods that must be moved to reach the sensors, wire or terminals add time.
What to have ready
- Is there frost, snow, slush or salt around the sensors in winter?
- Does the opener light flash when you press close, and how many times?
- What make and model is on the opener's label, and roughly how old is it?
Photo-Eye Sensor Alignment or Replacement: questions
QuestionsHow should I clean the lenses?
Gently, with a soft dry or lightly damp cloth, the way you would clean eyeglasses. Never scrape a lens or use a solvent, since a scratched or clouded lens scatters the beam. Wipe both sensors, then check that the receiving light comes on steadily. If a lens frosts on cold mornings, give it a few minutes to clear or dry it with a cloth. A quarterly wipe keeps dust, cobwebs and salt film from building up.
What do the small lights on the sensors mean?
Arrangement varies by model: most pairs carry an indicator on each side, in differing colours for sender and receiver, though some older pairs light only the receiver, so check the maker's chart. A receiving light that is dark or flickering means the beam is not landing on it, so the pair needs aligning or something is in the way. Both lights dark means the pair has no power, which points to the wire or the terminals at the head unit. Steady lights on both sides mean a healthy system.
What happens during the visit, in order?
Questions first: what the door does, when it began, what changed. Then the beam path is cleared, the sensor lights are read, the opener's flash code is counted, and the brackets and heights are measured. If the signs point to the circuit, the wire is traced and tested with a meter. The cause is fixed, whether that is alignment, brackets, wire, a shade or a new pair, and the visit closes with the beam test and the contact reversal test.