Openers · Westmount
Garage Door Opener Diagnosis and Repair in Westmount
For a few days there was a grinding sound whenever the door started moving.
In plain words
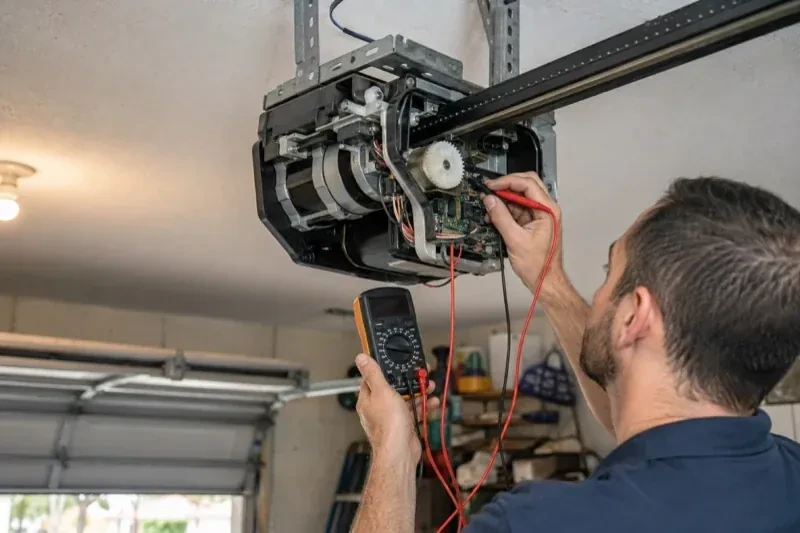
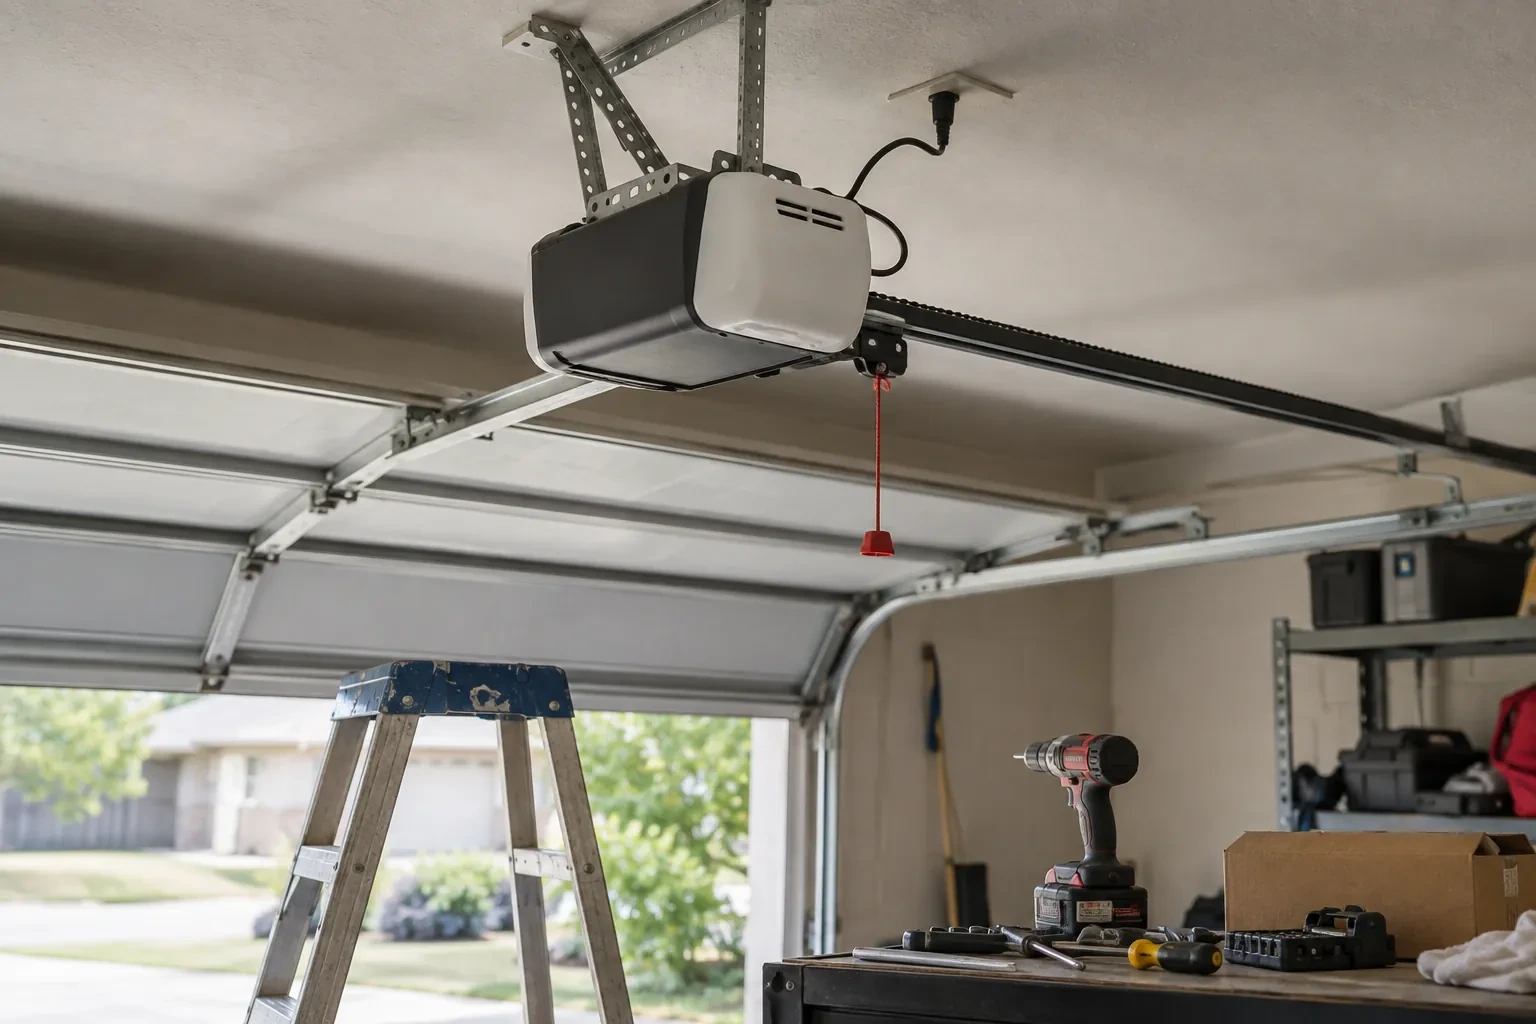
Garage door opener diagnosis is a fault-finding visit with a fixed order of tests. The technician confirms power at the ceiling receptacle, tries each control on its own, checks the safety sensors and their indicator lights, examines the drive train from motor to trolley, and reads any flash code the unit is showing. Only then is a part named, because a dozen different faults look identical from the driveway and guessing at the part costs you a second visit. When the cause is a small component, the repair is made while the technician is there; when it is not, you get a clear account of what comes next.
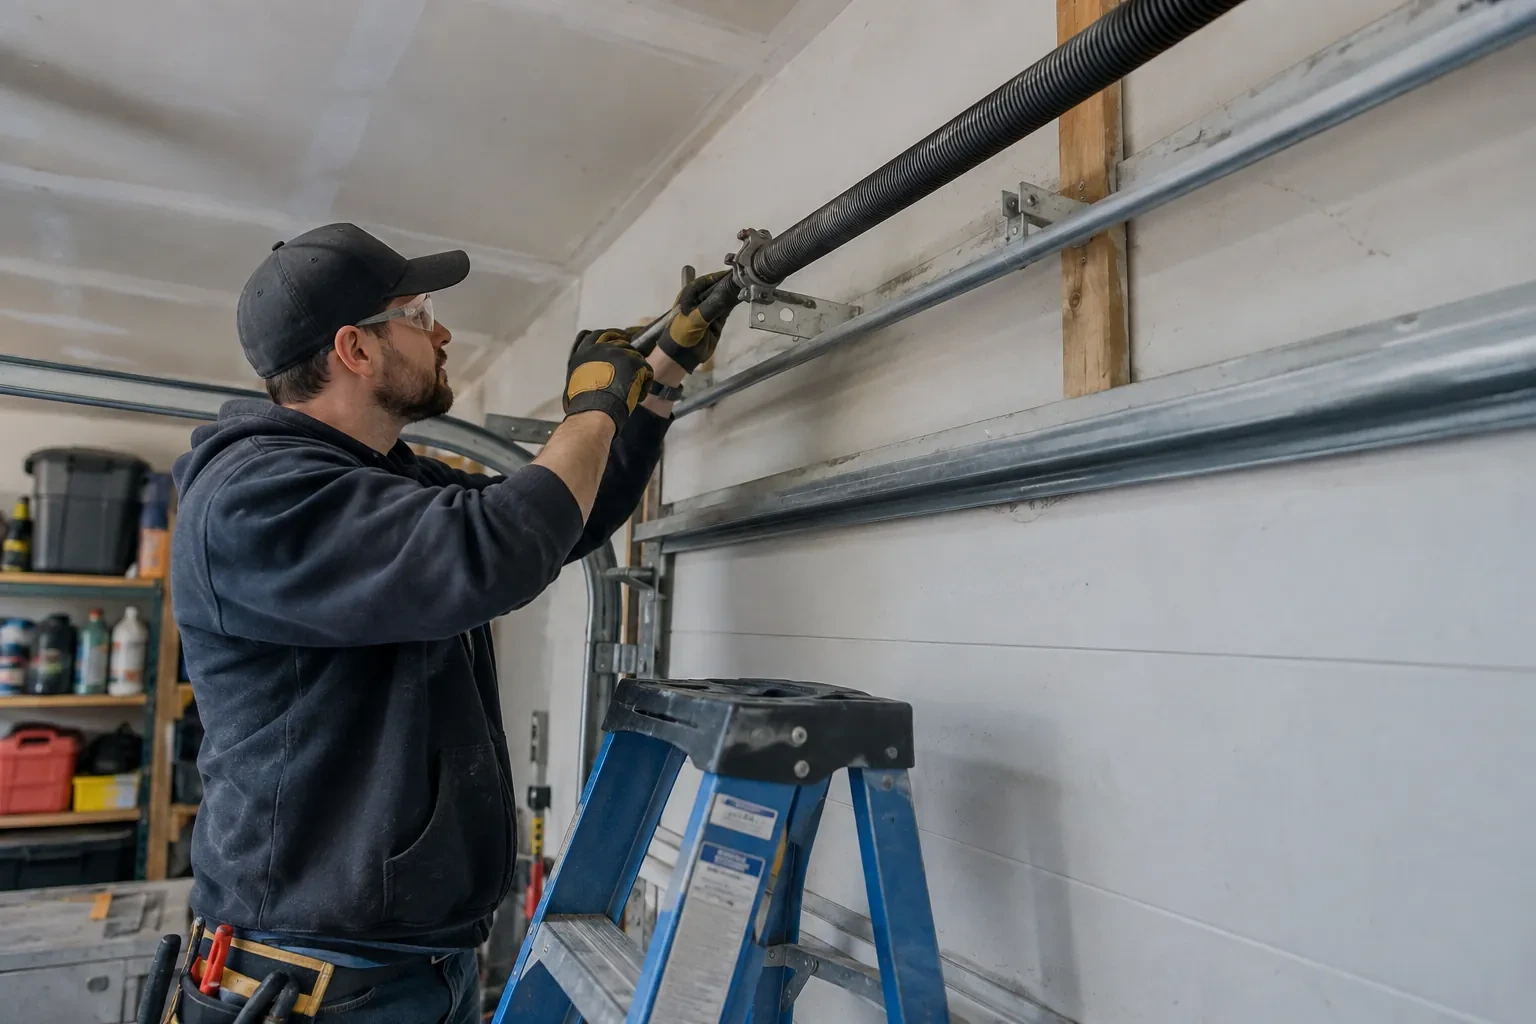
How the visit goesIt is a January morning and the door lifts about a hand's width, groans, and settles back down. When you pull the release and try by hand the door feels far heavier than it used to, and the bottom seal is stuck hard to the slab.
Garage Door Opener Diagnosis and Repair
How the visit goes
The two small eyes near the floor
The photo-eye sensors are inspected together with their wiring. Each sensor carries a small indicator; a steady light on both means the beam is aligned, while a flicker, a dark light or one that goes out when the bracket is nudged points to misalignment, a loose mount or a damaged wire. The technician sights along the beam, looks for obstructions, cobwebs, frost and low sun on the receiving lens, checks that the sensors sit no higher than about fifteen centimetres off the floor, and traces the wire back to the head unit for staples, kinks and chew marks. Sensor faults are the single commonest reason a door refuses to close.
Sensor alignment and replacement
Photo eyes are brought back into service by fixing what actually broke. A bent bracket is straightened and re-secured so the two lenses face each other at the same height; dirty or frosted lenses are cleaned; a receiving eye blinded by low winter sun gets a shade, or the pair is swapped side to side. Wire that has been stapled through, chewed or pulled from its terminals is re-run with fresh bell wire, clipped clear of the track. When a sensor's electronics have failed, the pair is replaced together with units made for that opener, then the beam test is repeated to prove the circuit closes and the door reverses.
The monthly test you can do yourself
You leave knowing a short check that catches most opener trouble early. Once a month, with the door open, lay a piece of 2x4 flat on the floor under the middle of the door and press close; the door should touch it and go straight back up. Then close the door again and pass a broom handle through the sensor beam near the floor; the door should stop and reverse. Watch the sensor lights stay steady. If either test fails, stop using the opener and book a visit. These are the same tests the technician just performed, and they are all the standard asks of a working unit.
Garage Door Opener Diagnosis and Repair
In the van
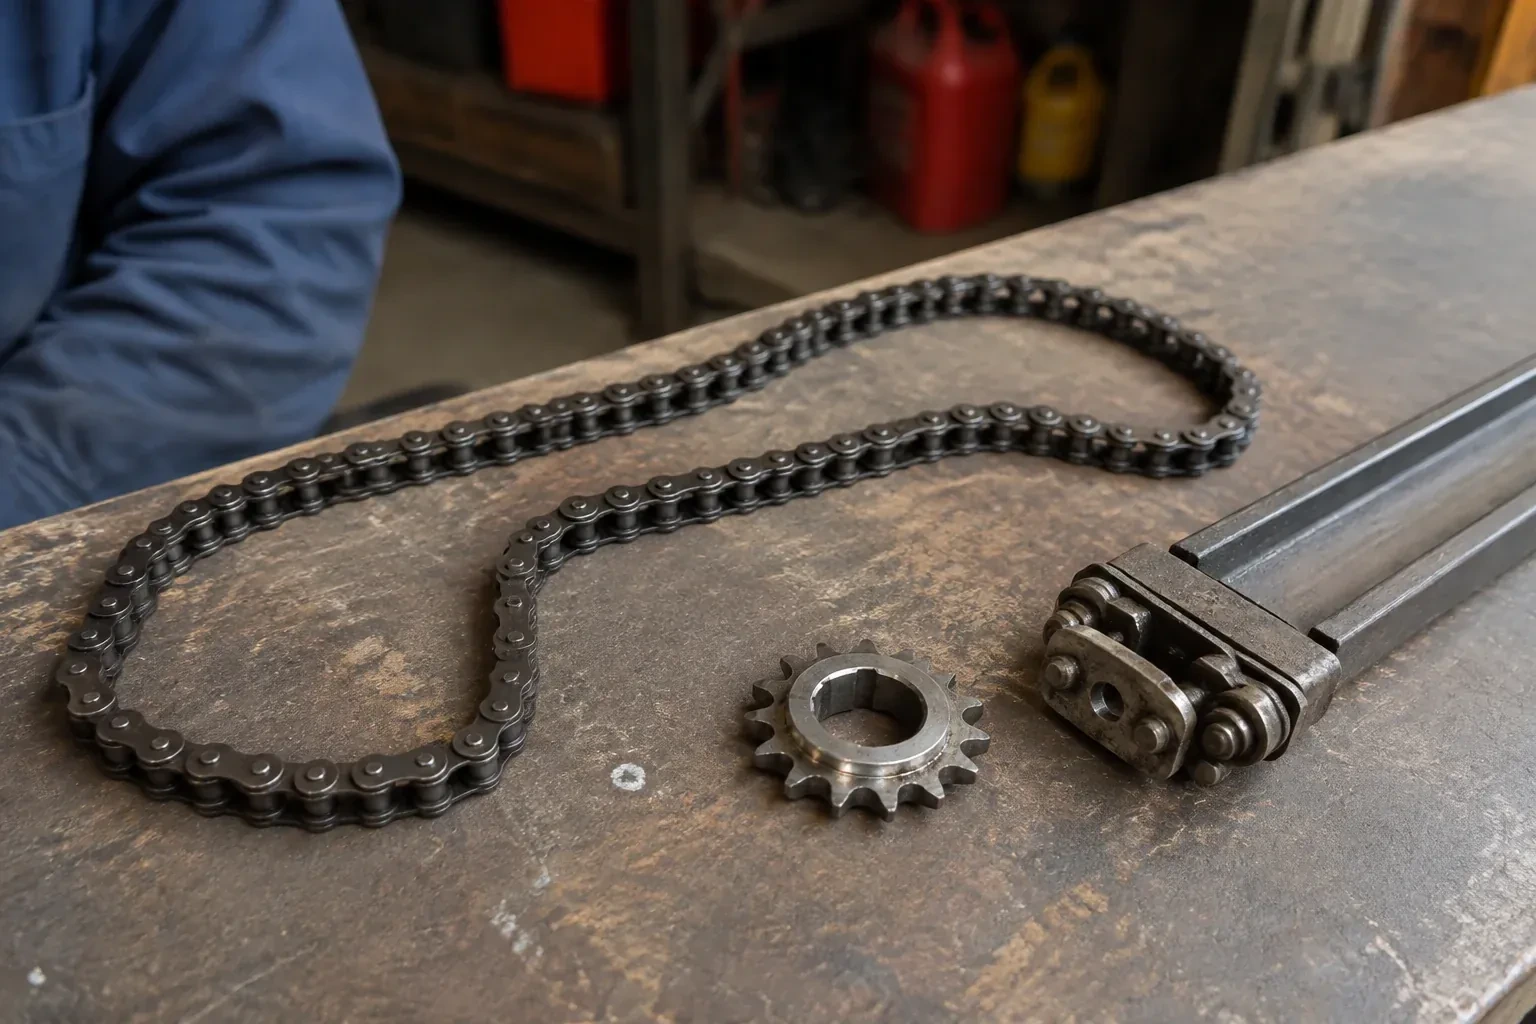
Drive gear and sprocket kit
Remote batteries (coin and cylinder cells)
Start capacitor
Transformer and board fuse
Trolley and carriage
Garage Door Opener Diagnosis and Repair
What affects the quote
Getting in when the door is stuck shut
A garage with no side door and no house connection means working the release from outside before any test can begin, and the quote includes that entry step.
Connected features
A unit with a network module, door-position sensor or hub may need its pairing restored or a module replaced, which is quoted as its own step alongside the mechanical repair.
Condition of the mounting
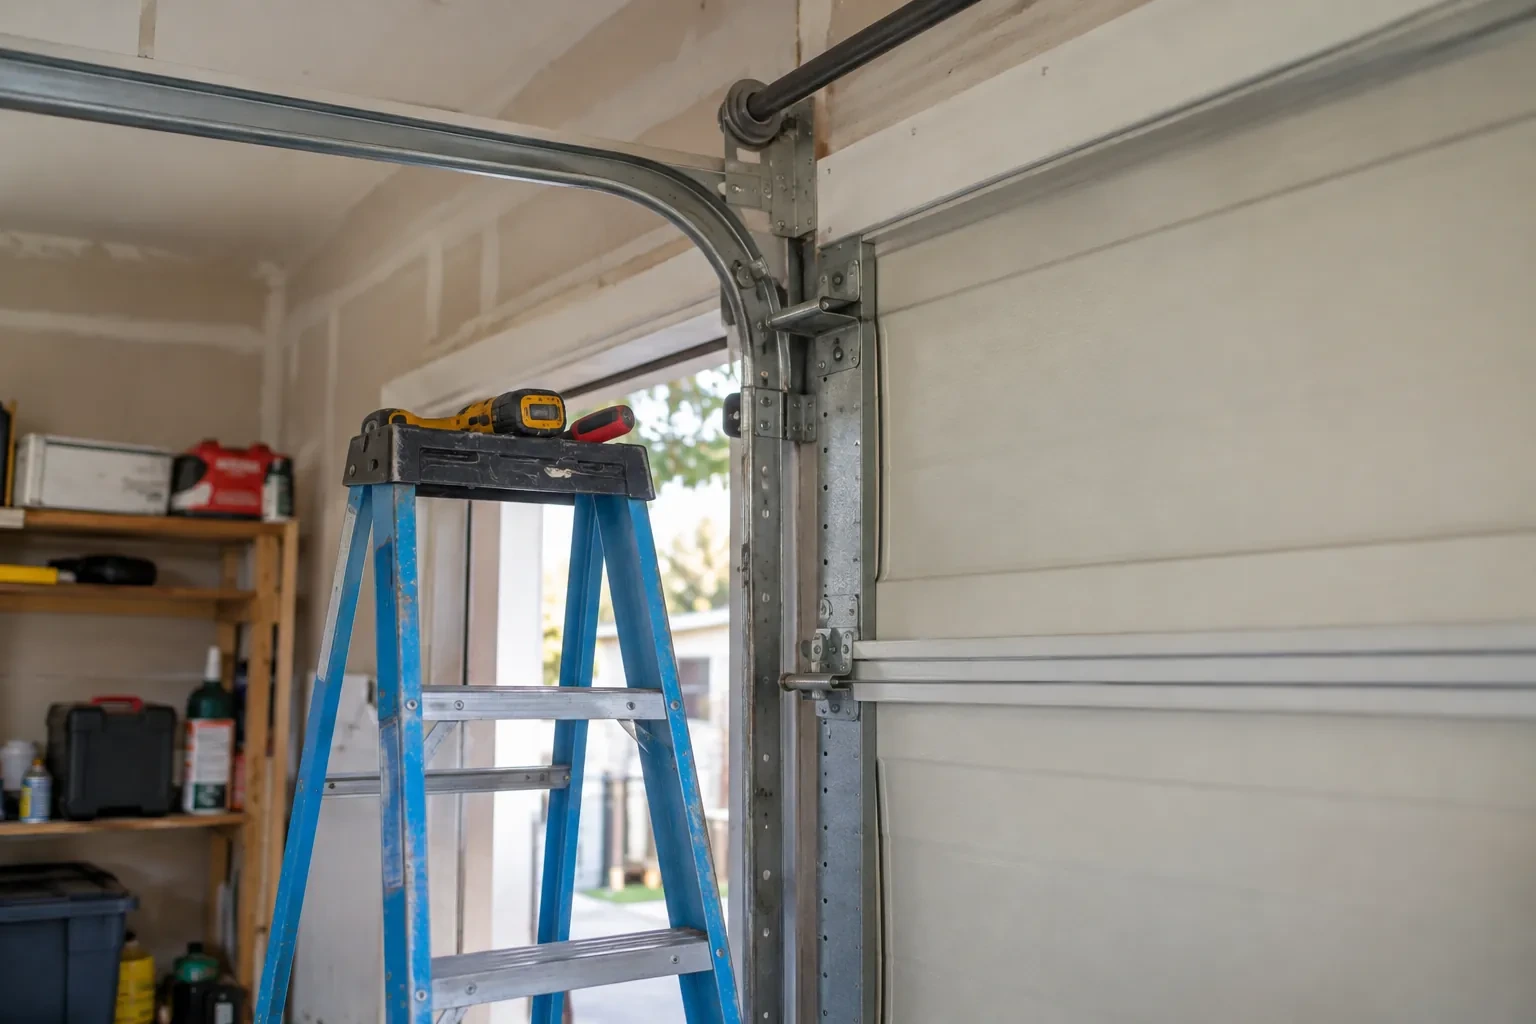
A rail that has sagged, a header bracket pulling out of the wall, or ceiling angle iron that has loosened must be re-secured before the opener is set up, and that hardware work is itemized.
What to have ready
- Can you see a gap in a spring above the door, or a loose cable?
- Is the garage connected to the house, or does it have a side door?
- Are the lights on the opener or the wall control blinking, and in what pattern?
Garage Door Opener Diagnosis and Repair: questions
QuestionsShould I lubricate the chain, the rail or the track?
Rollers, hinges, bearings and springs benefit from a garage door lubricant once or twice a year. The chain, belt or screw-drive rail is a separate question, since each drive type calls for its own product and schedule from the opener's manual rather than one rule for every unit. The track itself should stay clean and dry, because lubricant there collects grit and makes rollers slide instead of turning. The technician can point out the spots on your door at the end of the visit.
Is a smart, app-connected opener diagnosed any differently?
The mechanical and electrical checks are identical, since the app is just another control. What is added is the connection: whether the head unit is on the home network, whether the app reports a fault code you can read off your phone, and whether a door-position sensor or hub has lost its pairing. Because the wall control and remotes work independently of the network, a door that fails on every control is a hardware question, not a connection one.
How long does a diagnosis visit take?
The checks themselves run in a set order and take a modest part of an hour on most doors. What extends a visit is the repair that follows: a gear kit or capacitor adds a little, a sensor re-wire or a trolley change adds more, and a door-side problem such as a balance fault may mean a second piece of work. You are told where things stand once the cause is found, before any further work begins.
Related services
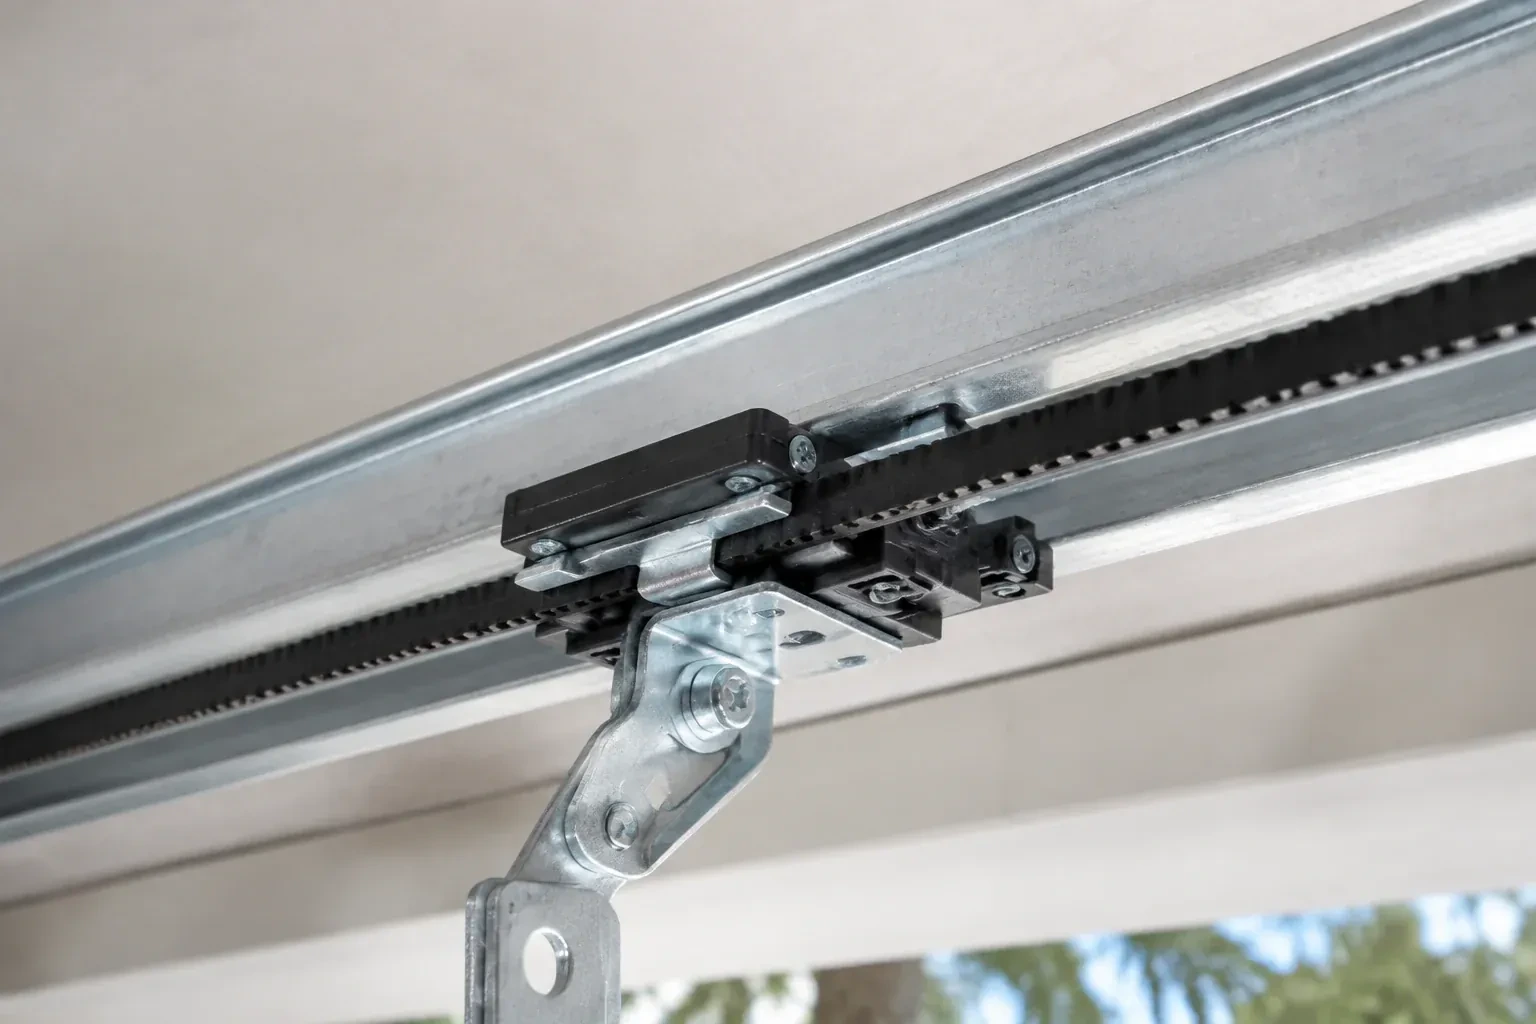
- Belt-Drive Opener RepairPress the remote and the motor runs its full cycle, lights on, the usual whir, but the door does not move a centimetre.
- Garage Door Opener ReplacementYou want the ceiling back.
- Photo-Eye Sensor Alignment or ReplacementOn bright mornings the door will not close, then by lunchtime it behaves itself.