Openers · Oakridge Acres
Smart Garage Controller Setup in Oakridge Acres
There is a wireless symbol printed on the opener above the car, and the manual mentions an app, but the head unit has never been connected to anything.
In plain words
Smart garage controller setup gives your garage door a place in your phone: open, close, see whether it is up or down, and hear about it when something changes. Many openers made in the last several years carry a wireless radio inside the head unit that only needs switching on and joining to your network. Older openers take a small retrofit hub beside the motor and a battery sensor on the top door panel, which together tell the app what the door is doing and pass your commands to it. The technician works out which route fits your opener and completes it in one visit.
How the visit goesYou are twenty minutes down the highway when the thought lands: did the garage door close behind you? You cannot picture it. Turning back means being late, and not turning back means wondering about it all day.
Smart Garage Controller Setup
How the visit goes
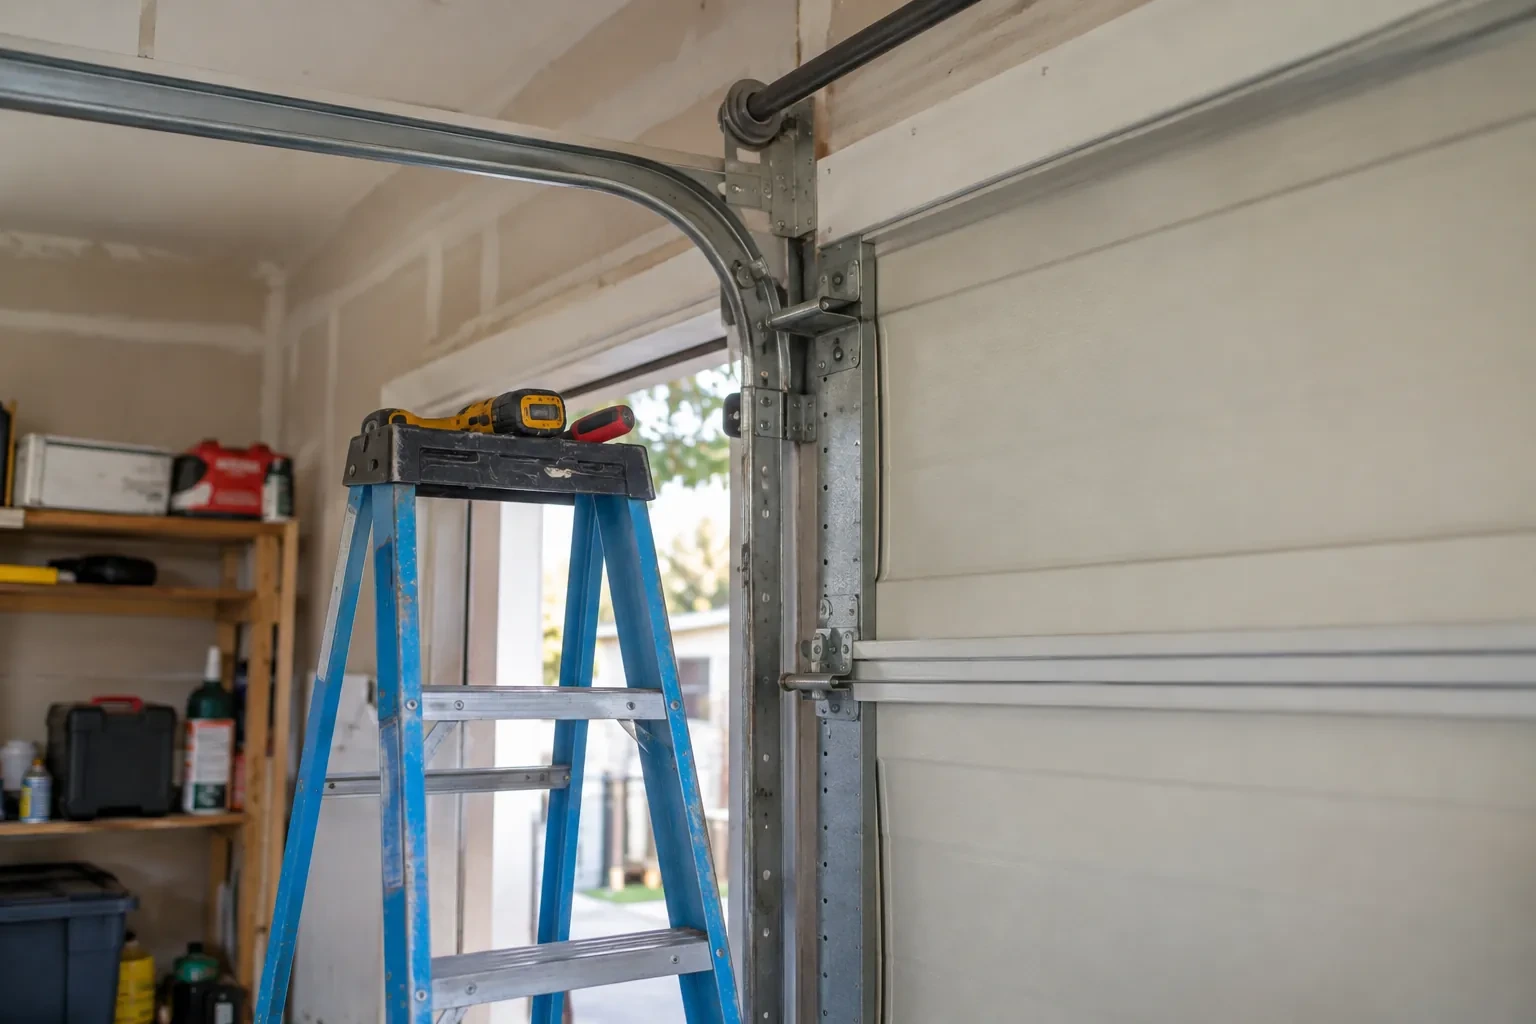
Power and a home for the hub
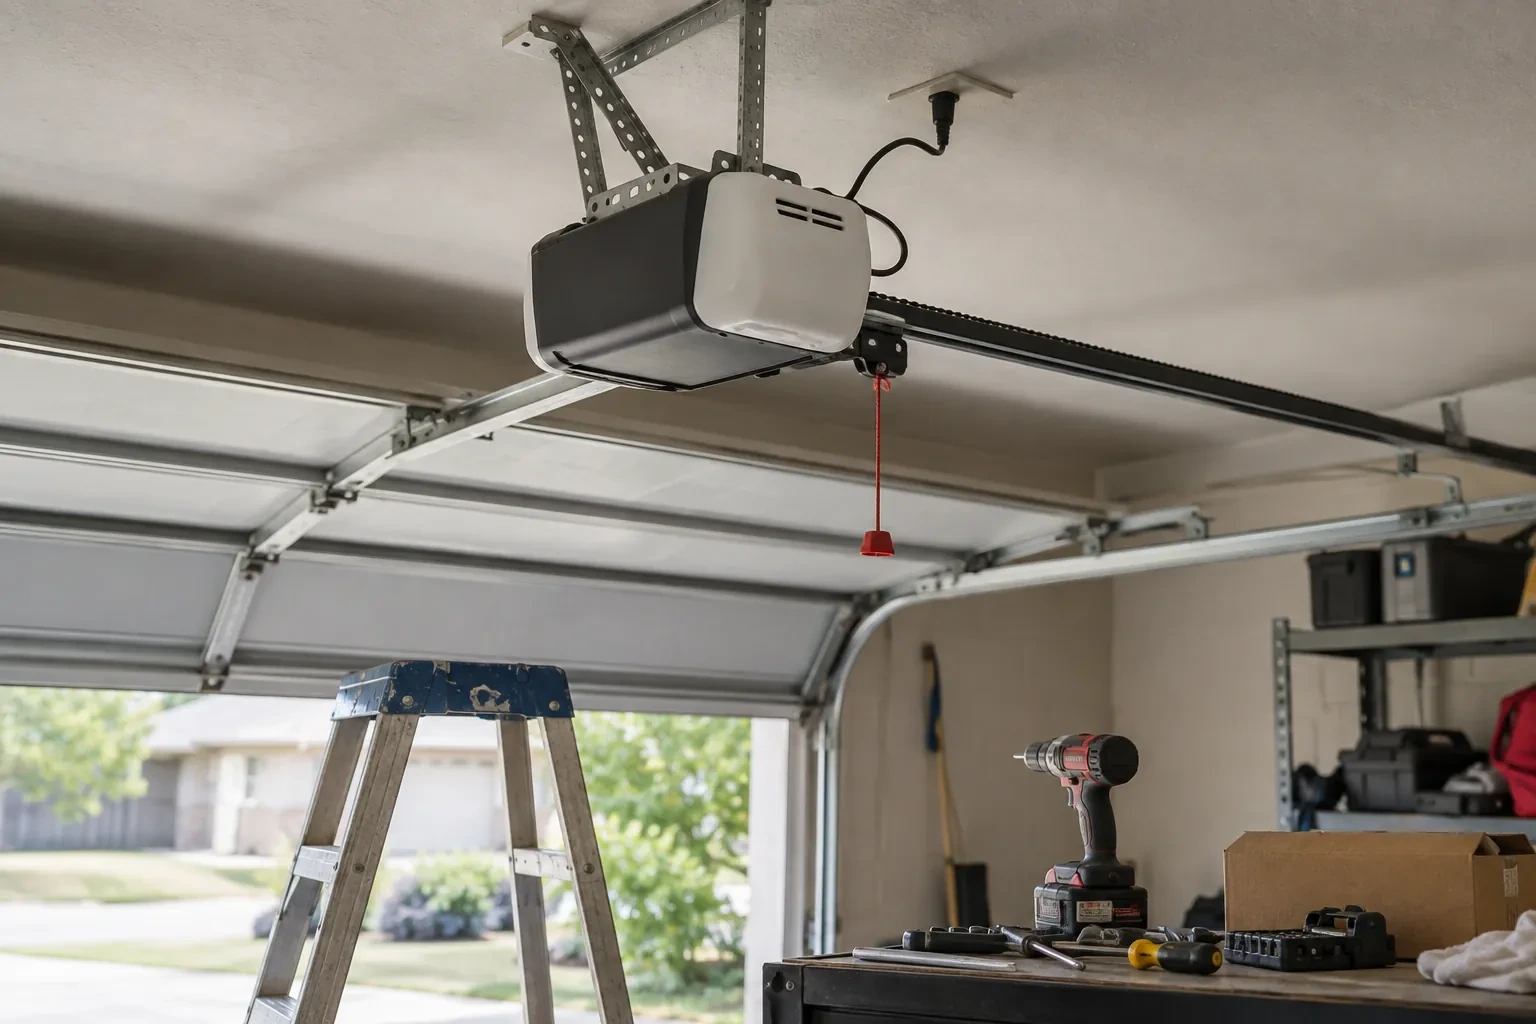
Retrofit hubs draw their power from a plug-in adapter, so the technician looks at the ceiling receptacle the opener uses: is there a spare socket, is it live, and does the adapter's cord reach a mounting spot with a clear line to the door sensor? The hub is placed within a few metres of the door so its own short-range link to the sensor stays solid, and away from the trolley and chain. If the receptacle is full, an approved splitter or a second receptacle installed by an electrical contractor is discussed. The adapter itself is checked for a recognized Canadian approval mark before it is plugged in.
Mounting and teaching the door sensor
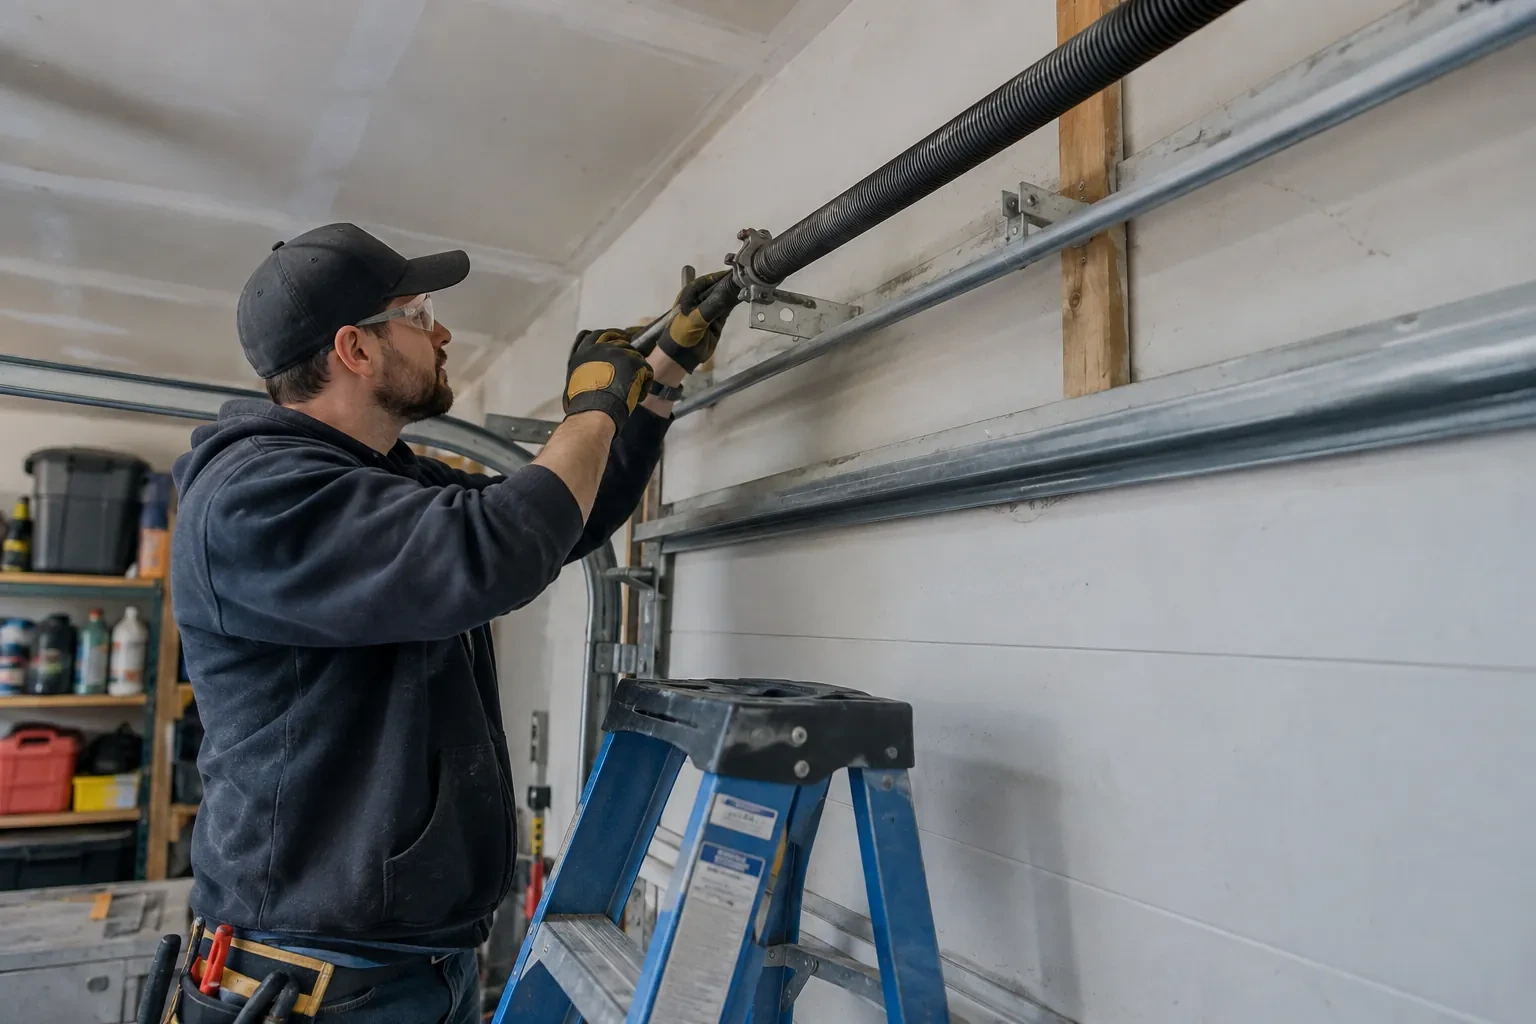
The sensor is fixed to the inside of the top door section with two screws, oriented the way its maker specifies so the tilt reading is unambiguous. Its battery goes in, and the hub is put into pairing mode to find it. The technician then follows the controller's own pairing procedure: some units come already programmed to their sensor and are simply verified through full cycles, others are taught the closed and open positions by cycling the door. Further cycles follow while the app is watched for the status to change within seconds of each end. A sensor that reports late or wrongly is repositioned rather than left to be second-guessed later.
Ready for the cold months
An installation done for this climate leaves you set for winter. The sensor is screwed rather than stuck on, its cell is a type built to withstand the cold, and the left-open alert is set so a door left up on a freezing night reaches your phone before the garage has lost its heat. Keep snow and ice cleared from the threshold and the photo-eye lenses, since a blocked beam pauses remote closing until it is cleared, and expect the door to be a shade slower on the coldest mornings. If the app reports the door open when it is plainly shut after a hard frost, the sensor mount is the first thing to check.
Smart Garage Controller Setup
In the van
Receptacle splitter with approval mark
Retrofit smart hub
Low-voltage bell wire
Dry-contact adapter for encrypted openers
Plug-in power adapter
Smart Garage Controller Setup
What affects the quote
Wireless coverage at the garage
A strong signal at the ceiling is a straightforward join. A weak one, common in detached garages, calls for an access point or extender, which is quoted separately.
Power for the hub
The hub plugs into the opener's ceiling receptacle. If there is no spare socket, an approved splitter or a receptacle added by an electrical contractor becomes part of the plan.
Alerts, schedules and integrations
A left-open alert and a nightly schedule are standard. Linking the door to other smart-home systems or setting up several schedules is additional configuration.
What to have ready
- What brand and model is your opener, and roughly how old is it?
- Is the garage attached to the house or detached?
- How strong is your phone's Wi-Fi signal when you stand under the opener?
Smart Garage Controller Setup: questions
QuestionsHow long does the setup take?
A built-in radio that only needs pairing and an account is the shorter visit. A retrofit hub with wiring, a sensor and network work takes longer, and adding an access point for a detached garage or correcting photo eyes first adds to it. The testing at the end, every control plus the safety tests, is never rushed. You are told where things stand once the compatibility check is done.
The previous owner's controller is still on the ceiling. Can I use it?
Usually, once it is released from their account. If the seller can be reached, they remove the device from their app; if not, the technician performs a factory reset using the maker's documented steps, which clears the old registration. The hub and sensor are then paired fresh, joined to your network and claimed under your own login, and the battery and sensor placement are checked rather than assumed.
What does the colour of the learn button tell you?
On many openers the learn button's colour marks the generation of radio coding the unit uses, which decides how a hub can talk to it. Some generations accept a simple two-wire connection at the wall-control terminals; others use an encrypted console and need the hub paired by radio or through a small adapter. Sending a photo of the button and the label ahead of the visit lets the technician arrive with the right hardware.